
Join 5000+ marketers that receive The Drip newsletter covering the most relevant topics in B2B marketing.
How to Add Assets to the Stage for your Webinar or Virtual Event
Using Welcome's webinar platform you can easily add assets to the main stage for your entire audience to see. To add assets to the stage, navigate to your event/agenda builder panel from within the Welcome Studio. Here you will find the sessions and assets related to your webinar or virtual event. In the example below, we see a “Particles” background asset, cue note (which cannot be put on stage), Video, and a Poll.

To add an asset, simply hit the plus “+” sign on the “play’ icon symbol next to the asset you want to put on the stage. In this example, let's put the “Particles” background on the stage.

Now let’s also add a “Bottom Left Message” overlay on top of the background.
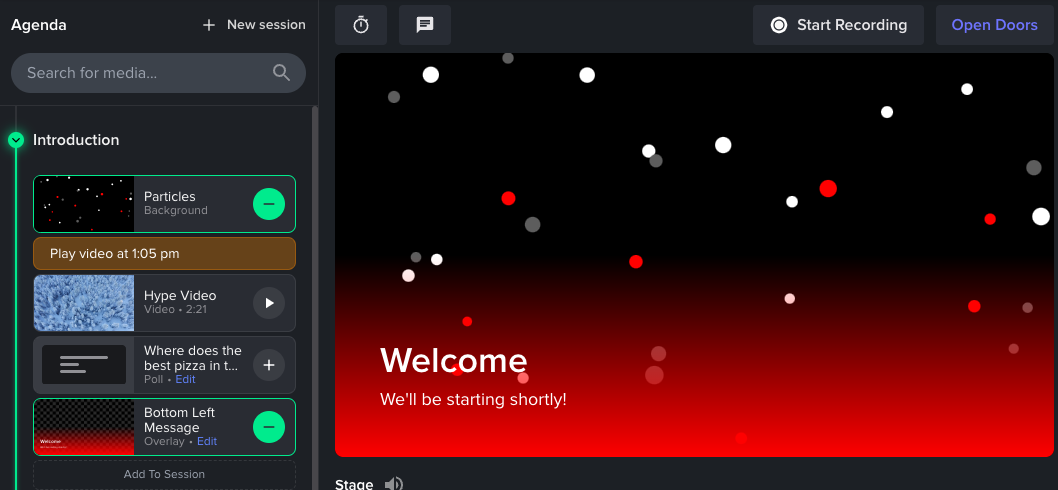
You can see the two assets on the stage are highlighted in GREEN and now have minus “-” icons next to them. To remove them from the stage, simply hit the minus icon next to the asset you want to remove.
Note: While you can have multiple assets on stage at the same time, some assets will “trump” others.
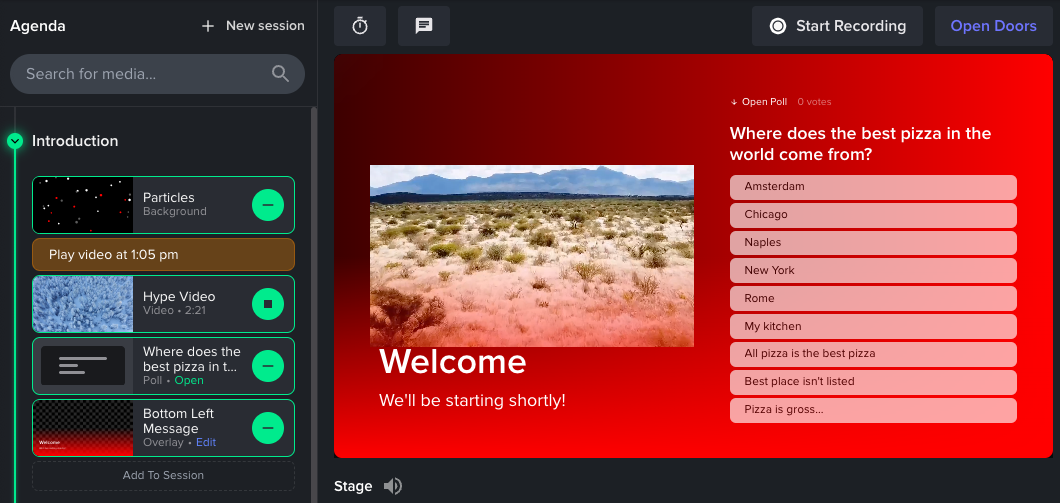
For example, if we add a “Poll” to the stage in addition to the background and overlay, the Poll will trump the background (see below).

In addition, some assets are designed to work together. If we add a video while also having a poll, the poll moves to the side and lets the video play next to it. The background is still not visible.
It is important to test how your assets display to ensure the ideal outcome.
Trending Posts
Welcome's Next Evolution: Webinars and Content at ScaleABM and Demand Generation: A match made in heaven?The Ultimate Guide on How to Integrate Organic and Paid Marketing Strategies
Stand Out By Staying In: 5 Ways To Use Brand Marketing Right Now
8 Creative Ways to Repurpose Your Webinar Content
Growth Marketing vs Demand Generation
How to Drive Qualified Pipeline and Enable Sales After Your Webinar Wraps
Loved and Trusted


