
Join 5000+ marketers that receive The Drip newsletter covering the most relevant topics in B2B marketing.
Welcome Studio - Layout Overview
Welcome Studio is where you will create the run of show/agenda for your webinar or event, create/manage assets (graphics, video, audio), and manage all LIVE aspects (Stage management, speaker/moderator management, chat/Q&A management, etc) of your webinar or event.
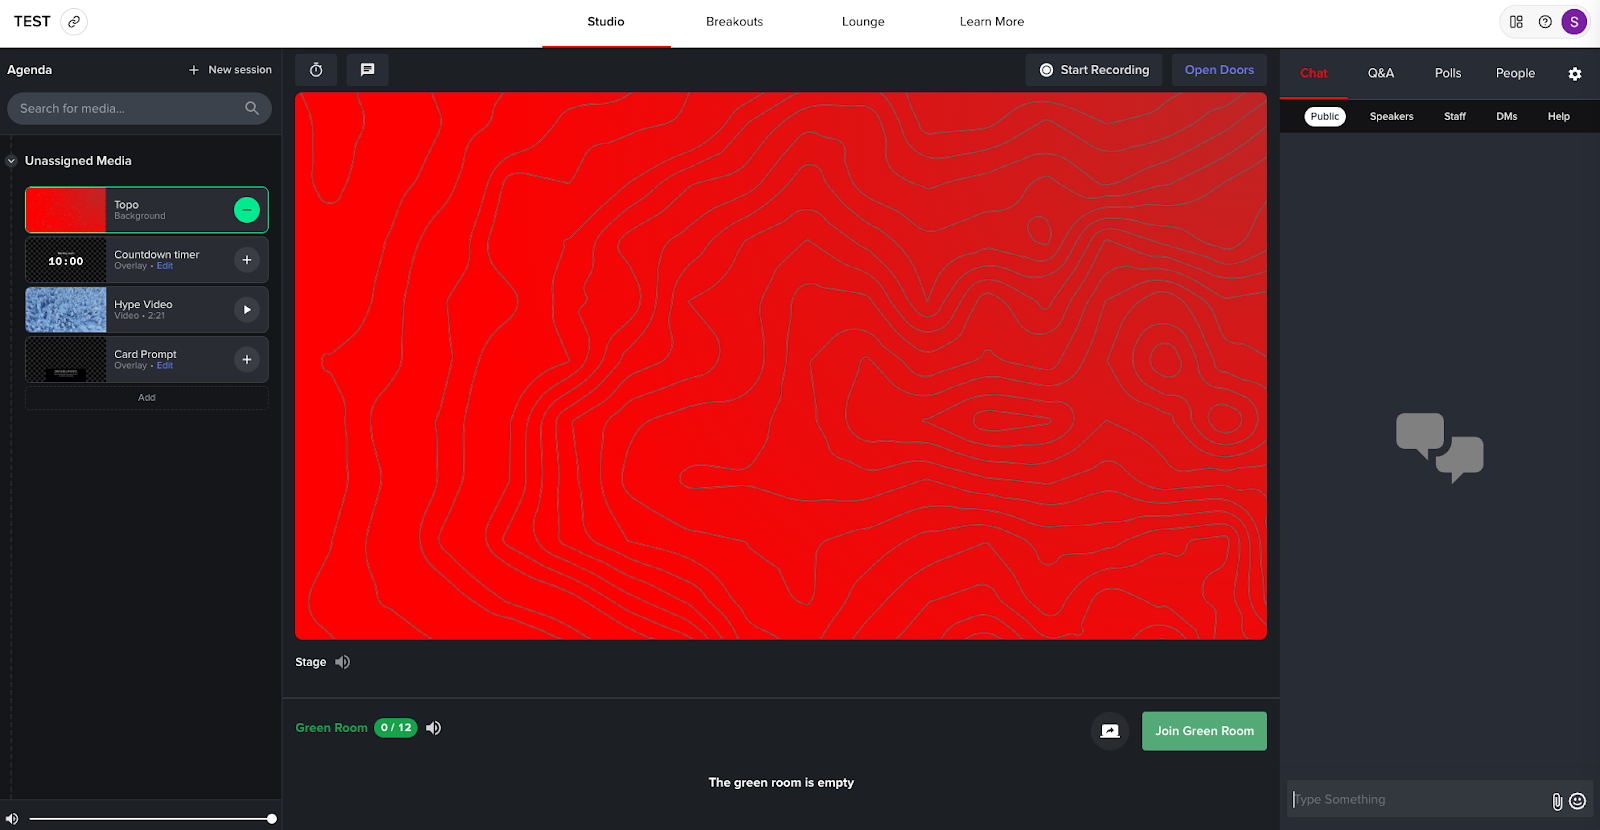
In Welcome's webinar software there are five distinct parts of Welcome Studio you should get accustomed to.
- Agenda/Event Builder
- Green Room
- Stage
- Chat/People
- Top Navigation
Agenda/Event Builder
The left hand panel is where you will:
- Create and manage sessions (agenda items)
- Add assets (graphics, video, audio, images, polls)
- Create and manage cue notes
- Manage which assets are on stage (visible to the attendees)

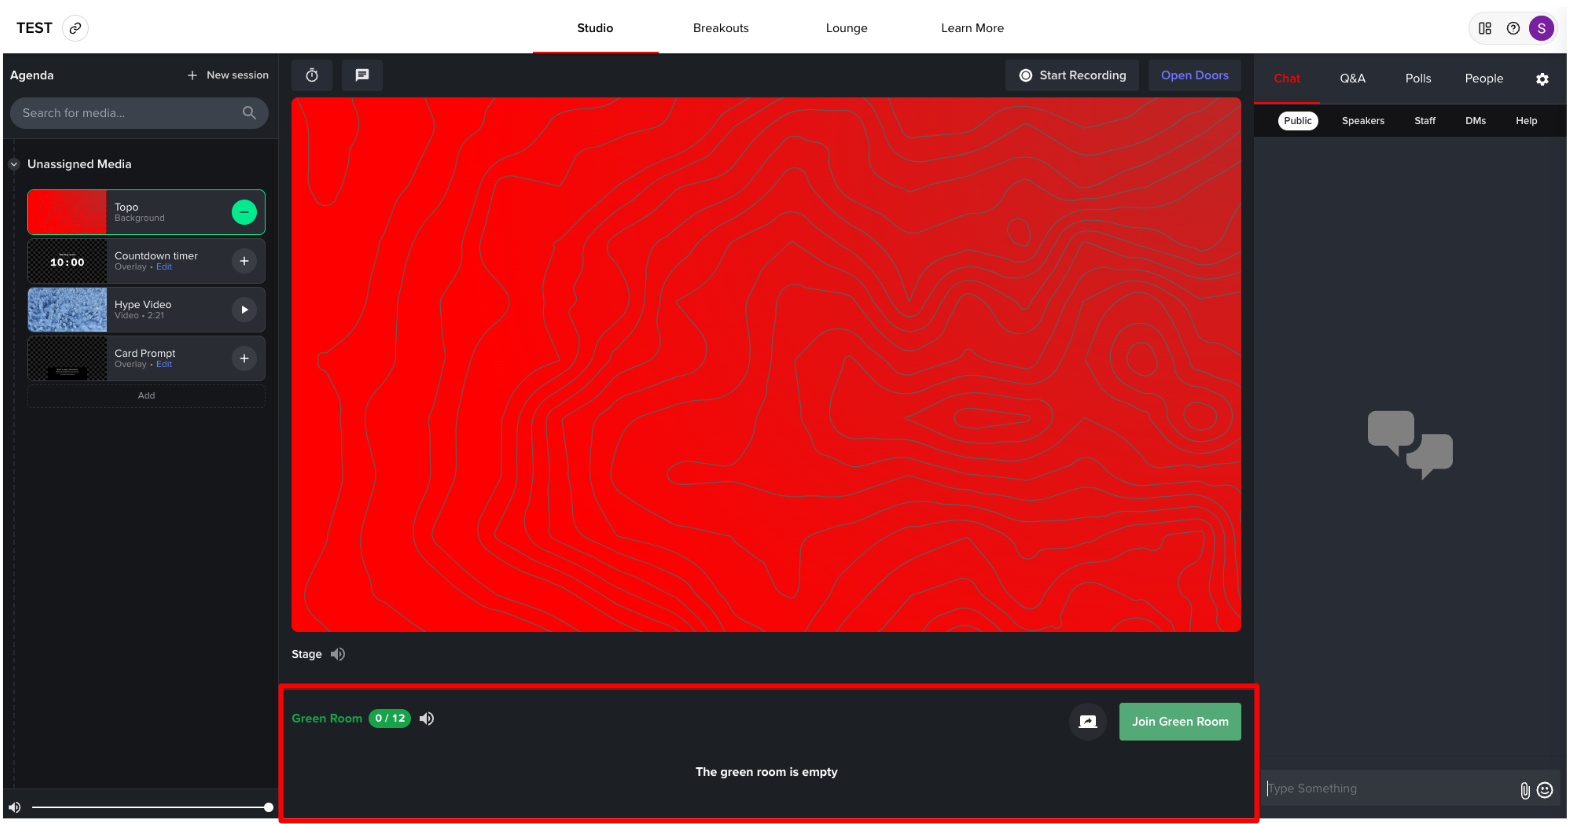
Green Room
The green room is where you manage:
- Your own mic/camera
- Speakers mics
- Accept invitations to the green room (from speakers)
- Remove people from the green room
- Manage screen sharing
- Coordinate with speakers/moderators/staff through audio/video
While in the green room, no attendees can hear or see you. Attendees can only hear or see what or who is put on the stage.
Note: There is a limit to 12 people in the Green Room. If someone shares their screen, that counts as a “person” in the Green Room.
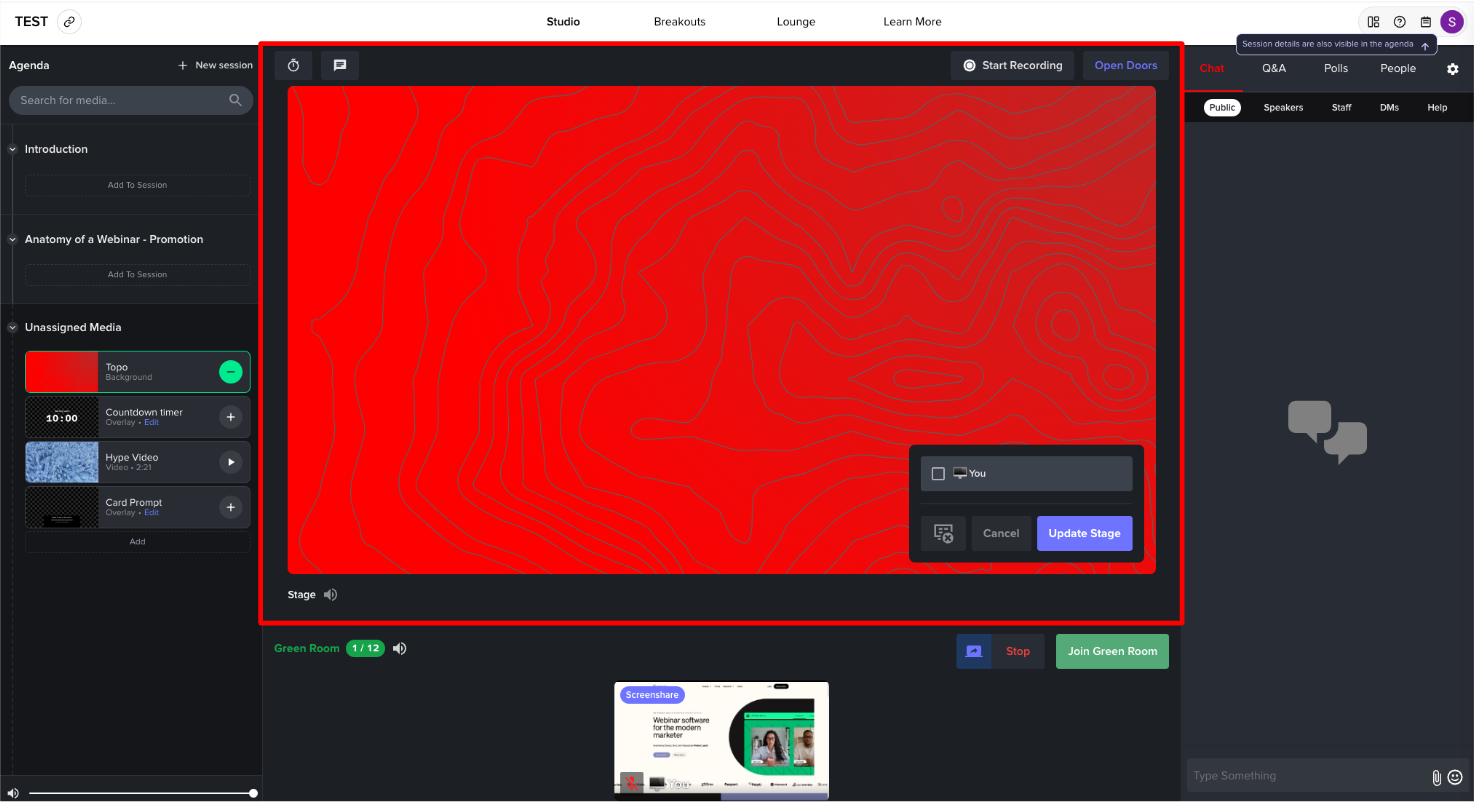
Stage
The stage is what your attendees see and hear. In the stage section, you can:
- See what your audience is seeing and hearing
- Manage WHO is on stage (people/screenshare)
- Open Doors to your event (let attendees in)
- Start/stop recording the event
- Add timers for speakers on stage
- Send “announcement” messages
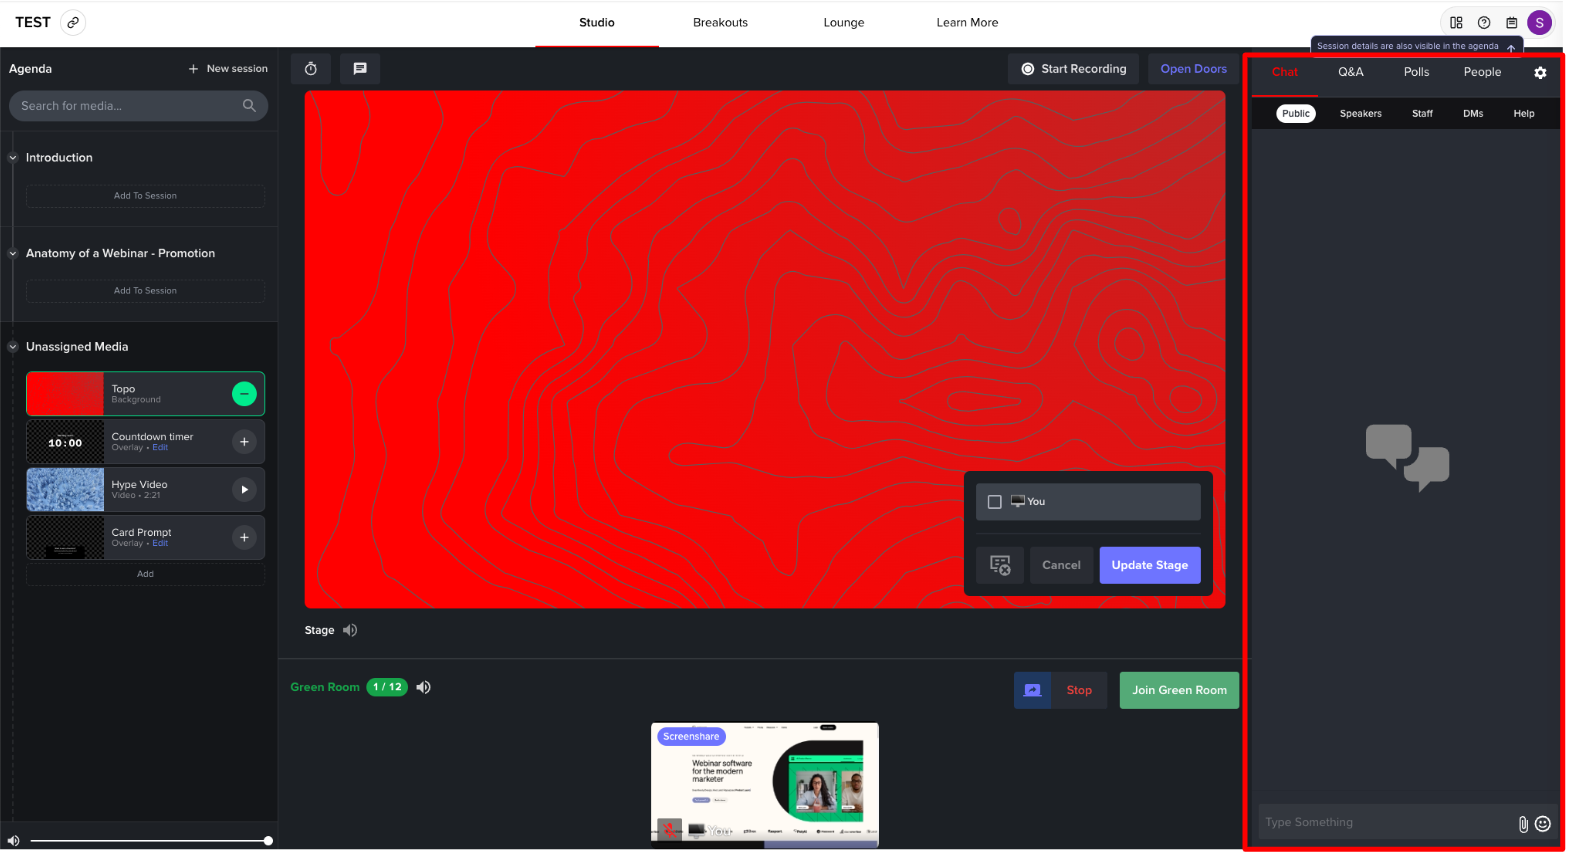
Chat/People
The chat/people panel on the right side is where you’ll be able to view and manage:
- Public chat
- Speaker chat (private to speakers/moderators/staff)
- Staff chat (private to staff/producers)
- Direct Messages
- Q&A (add questions, vote, moderate)
- Polls (add polls or vote)
- People (view list of staff, speakers, moderators, attendees)
- Chat/People settings (edit settings of chat/people panel such as “allow anonymous questions” or “hide people list”)
Top Navigation
The top navigation bar is where you can access, view, and manage:
- URL of event
- Breakout Rooms
- Lounge Rooms
- Custom tabs (such as “Learn More” in the example below)
- Navigate back to the Event Dashboard
- Find support/help
- View the agenda
- Access your profile/sign out

Trending Posts
Welcome's Next Evolution: Webinars and Content at ScaleABM and Demand Generation: A match made in heaven?The Ultimate Guide on How to Integrate Organic and Paid Marketing Strategies
Stand Out By Staying In: 5 Ways To Use Brand Marketing Right Now
8 Creative Ways to Repurpose Your Webinar Content
Growth Marketing vs Demand Generation
How to Drive Qualified Pipeline and Enable Sales After Your Webinar Wraps
Loved and Trusted


