
Join 5000+ marketers that receive The Drip newsletter covering the most relevant topics in B2B marketing.
One-Click Registration Link Guide
One-Click Registration Link Guide
One-Click Links are a great way to get users into the event with the least amount of friction possible. When an attendee clicks a one-click registration link, they will be redirected to your event with the registration form pre-filled with their information. Below is a demo of this in action:
Note: One-Click links will expire two weeks after the event ends.
This will work regardless of whether or not email verification is required in your event. If email verification is required, attendees who click one-click links will still be required to verify their email with Welcome.
Table of Contents
- Sending an Individual One-Click Registration Link
- Sending a One-Click Registration Link to a Group
- How to Get a Copy of One-Click Links
Sending an Individual One-Click Registration Link
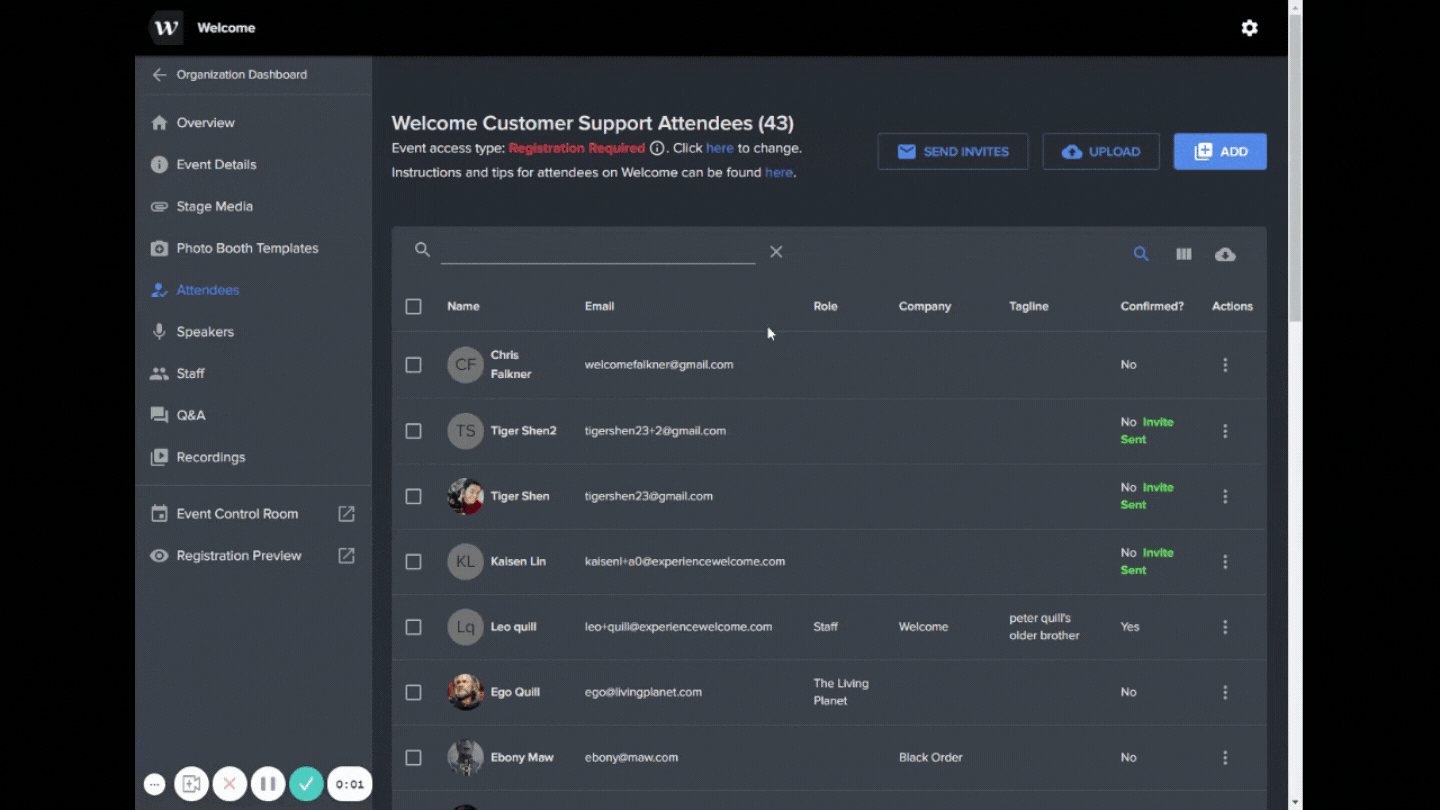
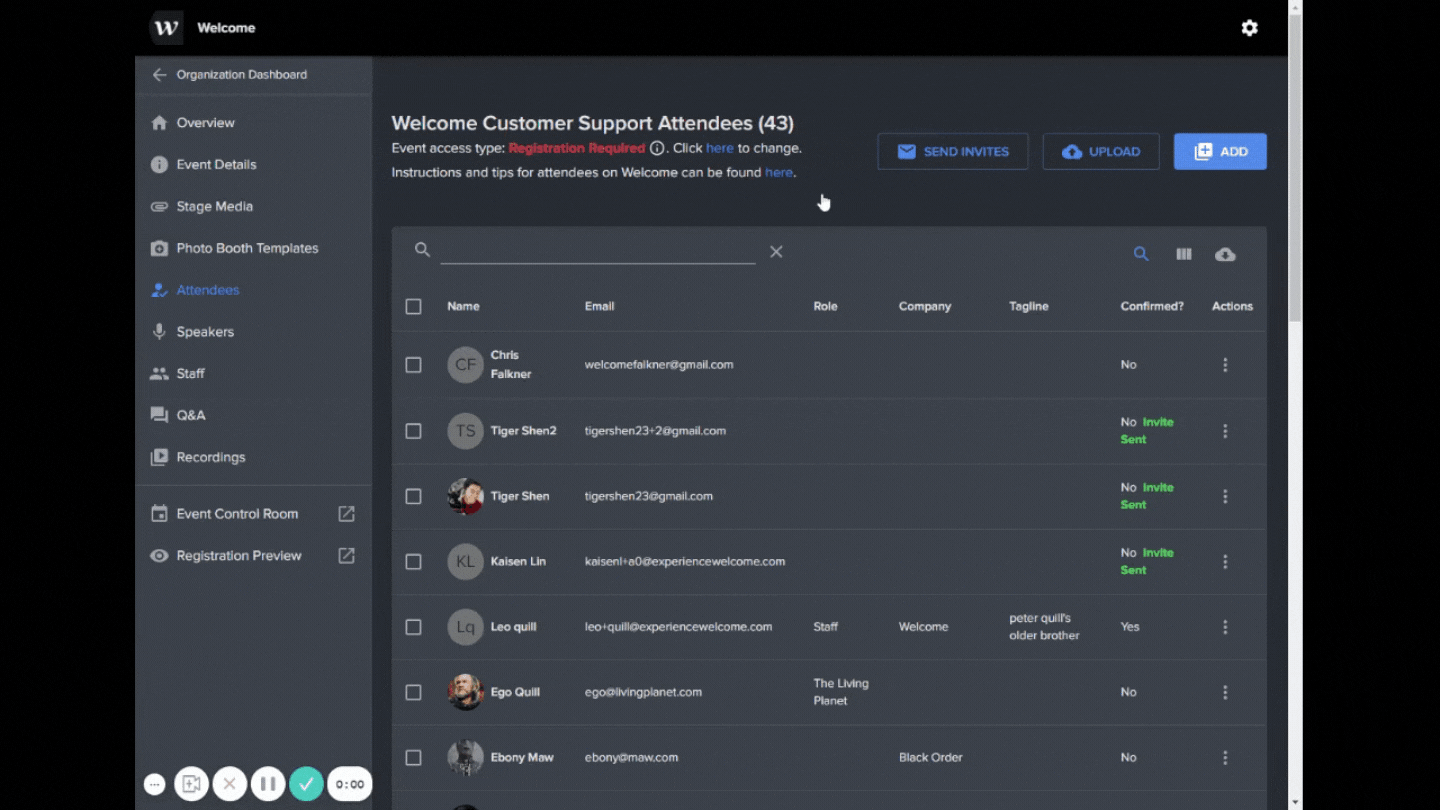
- In your event dashboard, go to either Attendee, Speakers, or Staff depending on the title of the individual you are looking to send the link to.
- Search for the individual by either using the search field at the top or scrolling through the list.
- Once you have found the individual, click on the stacked three dots on the right in the Actions Column.
- Click "Send One-Click Registration" and a pop-up will appear in green at the top right stating it has been sent.
Sending a One-Click Registration Link to a Group
Send One-Click Link to All

- In your event dashboard, go to either Attendee, Speakers, or Staff depending on the title of the individuals you are looking to send the link to.
- At the top right, you will see a button "Send Invites".
- Click on the button and then click "Send Invites" in the pop-up to confirm.
- This will send emails to all Unconfirmed user
Send One-Click Link to a Specific Group
- In your event dashboard, go to either Attendee, Speakers, or Staff depending on the title of the individuals you are looking to send the link to.
- Check the boxes to the left of the user accounts you would like to send One-Click Links to
- You will not be able to the search bar; you will need to scroll through the list of people.
- At the bottom, you can expand the list view to up to 100 people.
- Once you have selected the individuals, scroll towards the top, and you should see a button "Send Invite(s)" to the left of a trash can.
- Click on the button and then click "Send Invites" in the pop-up to confirm.
How to Get a Copy of One-Click Links
Individual Link

- In your event dashboard, go to either Attendee, Speakers, or Staff depending on the title of the individual you are looking to send the link to.
- Search for the individual by either using the search field at the top or scrolling through the list.
- Once you have found the individual, click on the stacked three dots on the right in the Actions Column.
- Click "Copy One-Click Registration Link" and a pop-up will appear in green at the top right stating it has been copied.
Group of Links

- In your event dashboard, go to either Attendee, Speakers, or Staff depending on the title of the individual you are looking to send the link to.
- On the right above the list of individuals, you will see a cloud with a down arrow.
- Click it, and you will download a CSV file of all your users, and inside the CSV will have a column for each user, One-Click Link.
Still need help?
If none of the solutions work above and you're still experiencing issues, feel free to contact support@experiencewelcome.com or click Help at the bottom right corner of the screen.
Trending Posts
Welcome's Next Evolution: Webinars and Content at ScaleABM and Demand Generation: A match made in heaven?The Ultimate Guide on How to Integrate Organic and Paid Marketing Strategies
Stand Out By Staying In: 5 Ways To Use Brand Marketing Right Now
8 Creative Ways to Repurpose Your Webinar Content
Growth Marketing vs Demand Generation
How to Drive Qualified Pipeline and Enable Sales After Your Webinar Wraps
Loved and Trusted


