Setting Up Streaming (out) for your Webinar or Virtual Event
Before you begin please note:
- The streaming server will start preparing 1 hour before the event, so producers/staff/host must ensure that the start/end time are set correctly. Please note that if you are changing your event's times you must leave a 15-minute gap to allow the streaming server time to kick in.
- Streaming to your chosen services will start when you open your event doors and stop when you close them.
- When doors open, you will no longer be able to modify stream settings.
- The stream will be a view-only experience.some text
- Viewers at streaming sites will not be able to view the Welcome chat interface, including Chat, Q&A, Polls, and People
- Viewers at streaming sites will not be able to see or participate in Lounges or Breakouts
- Youtube, Twitch, Facebook, and any other 3rd party will have their own chat and settings, which Welcome cannot see or get data from. You will need to access those platforms to make edits and collect data from them.
- Streams will have a short delay from the live event. This delay is typically between 10-20 seconds.
- External platform data and experience may change over time. For more support and updates, please refer to the documentation on the external platform website directly
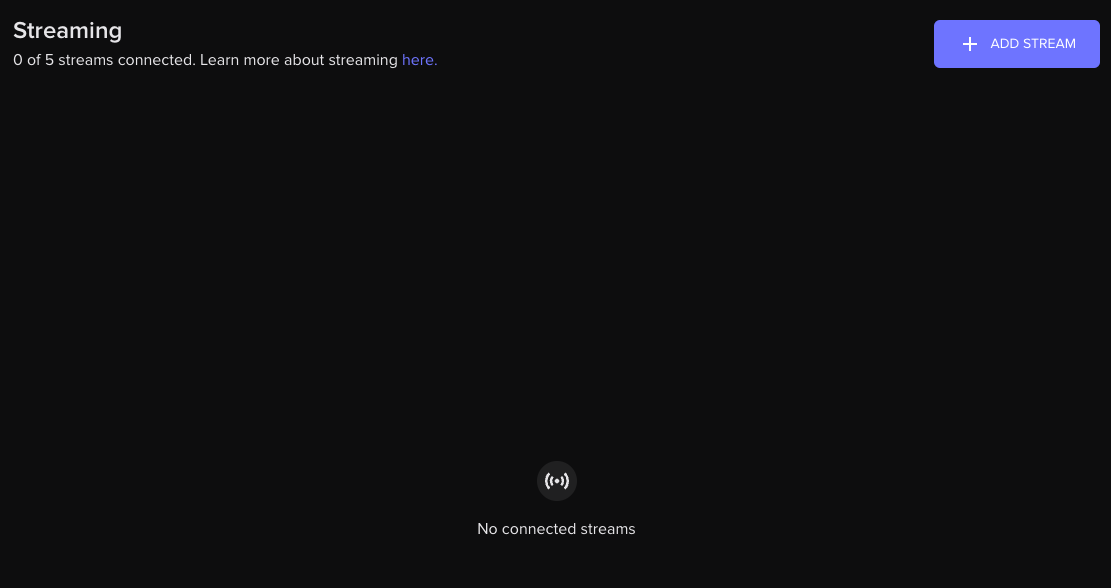
After logging into Welcome's webinar software navigate to the “streaming” page of your webinar or virtual event.

From here, you will be able add streams (out) along with view/edit any connected streams.

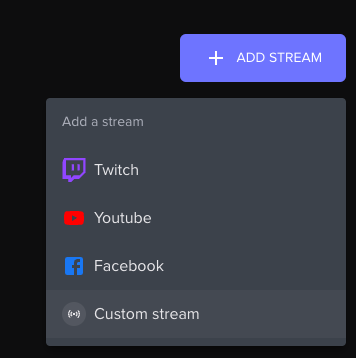
You can connect your Youtube, Twitch, or Facebook stream by clicking “Add Stream” and selecting the appropriate platform.
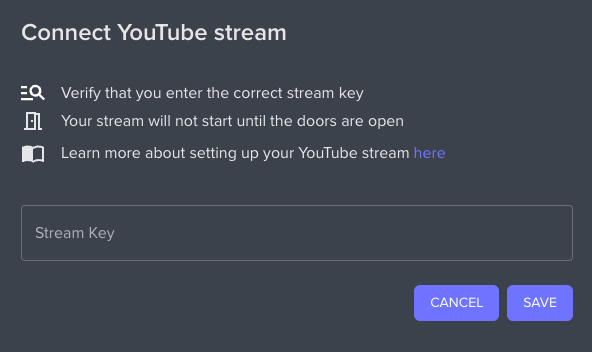
You will then be prompted to connect your Stream Key.

You can also connect a custom stream by selecting the custom stream option.

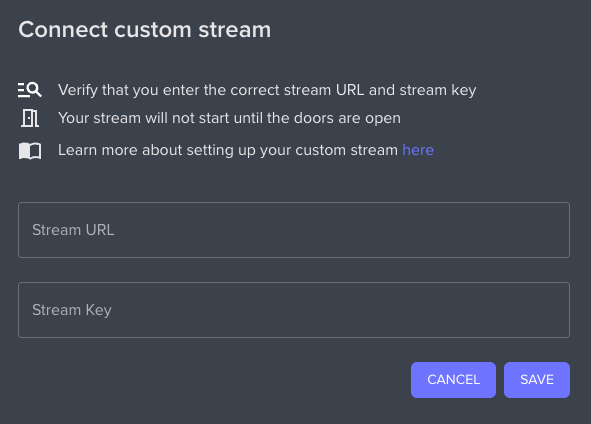
You will then be prompted to connect your custom stream, which requires the stream URL and Stream Key.


