
Join 5000+ marketers that receive The Drip newsletter covering the most relevant topics in B2B marketing.
Creating Overlays in Keynote
One of the key elements to creating a jaw-dropping event is to utilize overlays to help deliver your message. This guide is to give you a template and guide on how to convert presentation slides into transparent overlays. You can turn a whole presentation deck with all the data points into an overlay rather than doing a screen share that is typically expected.
First things first, you will need to download our Keynote template by clicking here. Once you have finished downloading the file, you can follow the instructions built into it or follow the instructions in the article.
- How to add overlays
- Guidelines and placeholders
- Overlay positions
- Overlay styles
- Importing into Welcome
- Exporting your own slides
How to Add Overlays
This deck has all the overlay types you’ll need to get started.
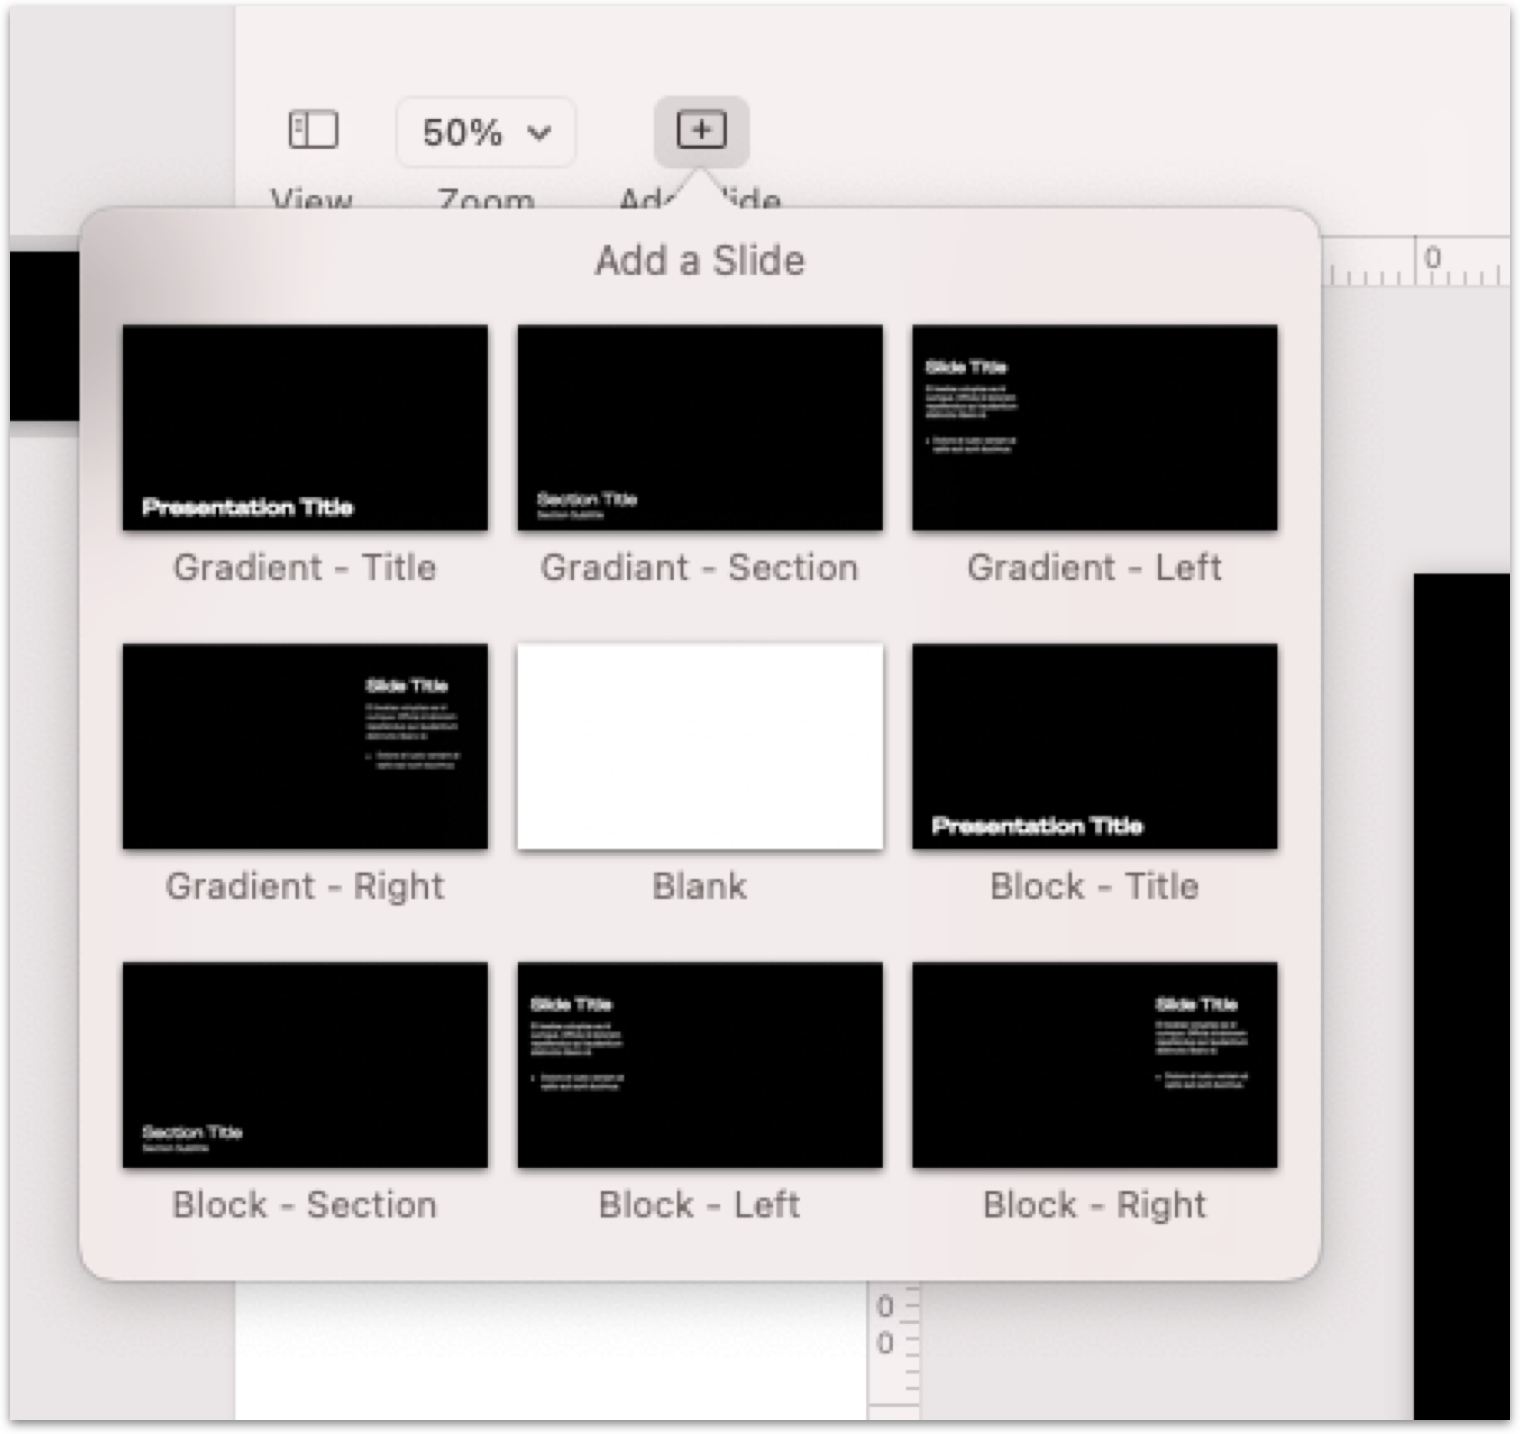
To begin, click “Add Slide” and choose the type you’ll need from the menu.
Guidelines & Placeholders
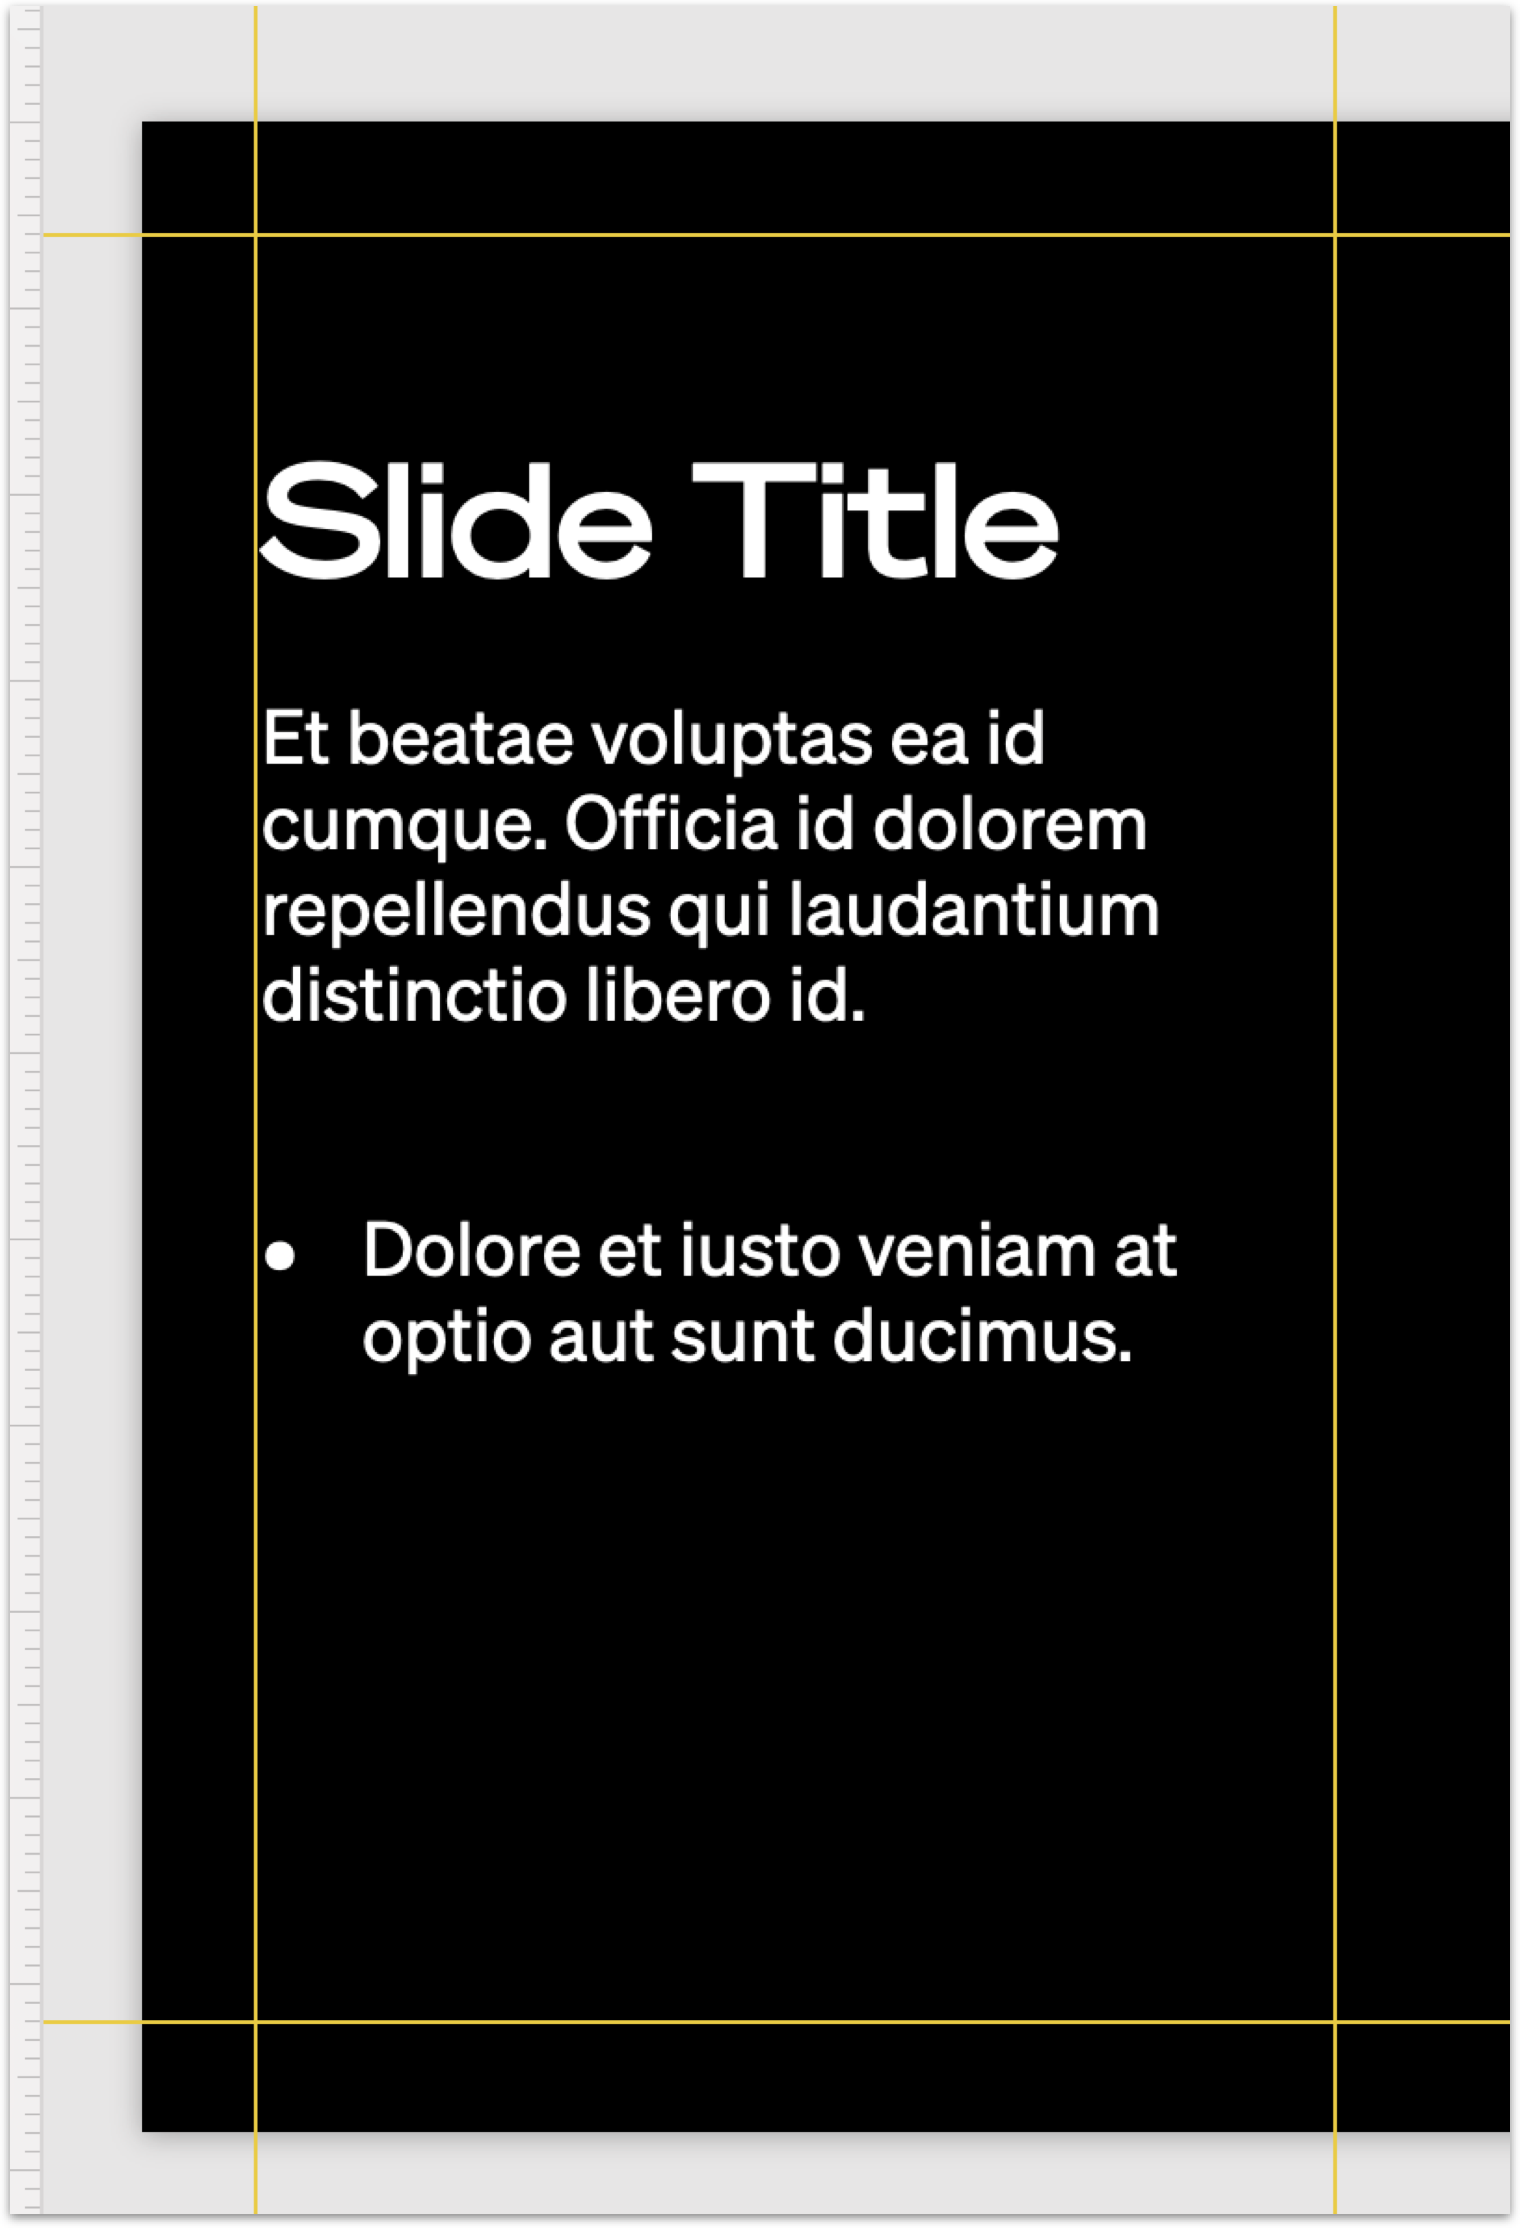
Any time you select and add a new type, it’ll look like an all-black slide but don’t worry! It’s transparent and will export into the proper format. Just use yellow guidelines and placeholder text to help compose your overlay. Using these will place your content in the ideal place so that it looks fantastic in Welcome.
If you are not seeing the placeholder lines follow these steps:
- In Keynote, click "Keynote" in the top bar and then select "Preferences"
- Click "Rulers" in the pop-up
- Make sure all of the boxes are checked in the "Alignment Guides" section
Overlay Positions
We have provided you with multiple positions for the overlays. Titles and section types will appear in the lower third of your event. Left and right will put your overlays on the sides in case more vertical space for your content as needed.
Use these to help create a dynamic and flexible event!
Overlay Styles
In addition to placement, we’ve provided you with two styles to choose from. A block and gradient style overlay.
The Block style can make text/graphics a bit easier to see, whereas the Gradient style can feel more seamless in the environment and is more flexible to speaker positioning.
Importing into Welcome
In Keynote go-to: File > Export > Images > Change Format to PNG
Be sure that the format is PNG and that “Export with transparent backgrounds” is checked.

In the Welcome Event Dashboard, go to “Stage Media” and drag all your exported images into the “Overlay Images” section. You are also able to upload these directly in the event if you prefer to. Simply click the cloud icon in the Overlays section on the lefthand side of the screen.
Event dashboard:

In event:

Exporting Your Own Slides
The first thing you will need to do is go through your deck and make modifications to where all the assets sit within the slides. It's best to make a copy of the existing slide deck and modify the copy. You will need to imagine that the speaker's face is sitting in-between all the assets.

Making your background transparent
In Keynote go-to: Slide Layout on the right > Background > Select No Fill
You can do this for each slide
Once you have done this, you can export as you would normally
In Keynote go-to: File > Export > Images > Change Format to PNG
Still need help?
If none of the solutions work above and you're still experiencing issues, feel free to contact support@experiencewelcome.com or click Help at the bottom right corner of the screen.
Trending Posts
Welcome's Next Evolution: Webinars and Content at ScaleABM and Demand Generation: A match made in heaven?The Ultimate Guide on How to Integrate Organic and Paid Marketing Strategies
Stand Out By Staying In: 5 Ways To Use Brand Marketing Right Now
8 Creative Ways to Repurpose Your Webinar Content
Growth Marketing vs Demand Generation
How to Drive Qualified Pipeline and Enable Sales After Your Webinar Wraps
Loved and Trusted


