
Join 5000+ marketers that receive The Drip newsletter covering the most relevant topics in B2B marketing.
Content Creator
Content Creator allows you to modify your recorded webinar and create additional video content from the recording. You can choose to leverage and modify clips that are automatically created for you after the webinar recording is done processing, or you can manually search through the transcript and create your own from scratch.
You can find Content Creator by navigating to the Content Creator page (renamed from Recordings to Content Creator) from the left panel of the Event Dashboard.
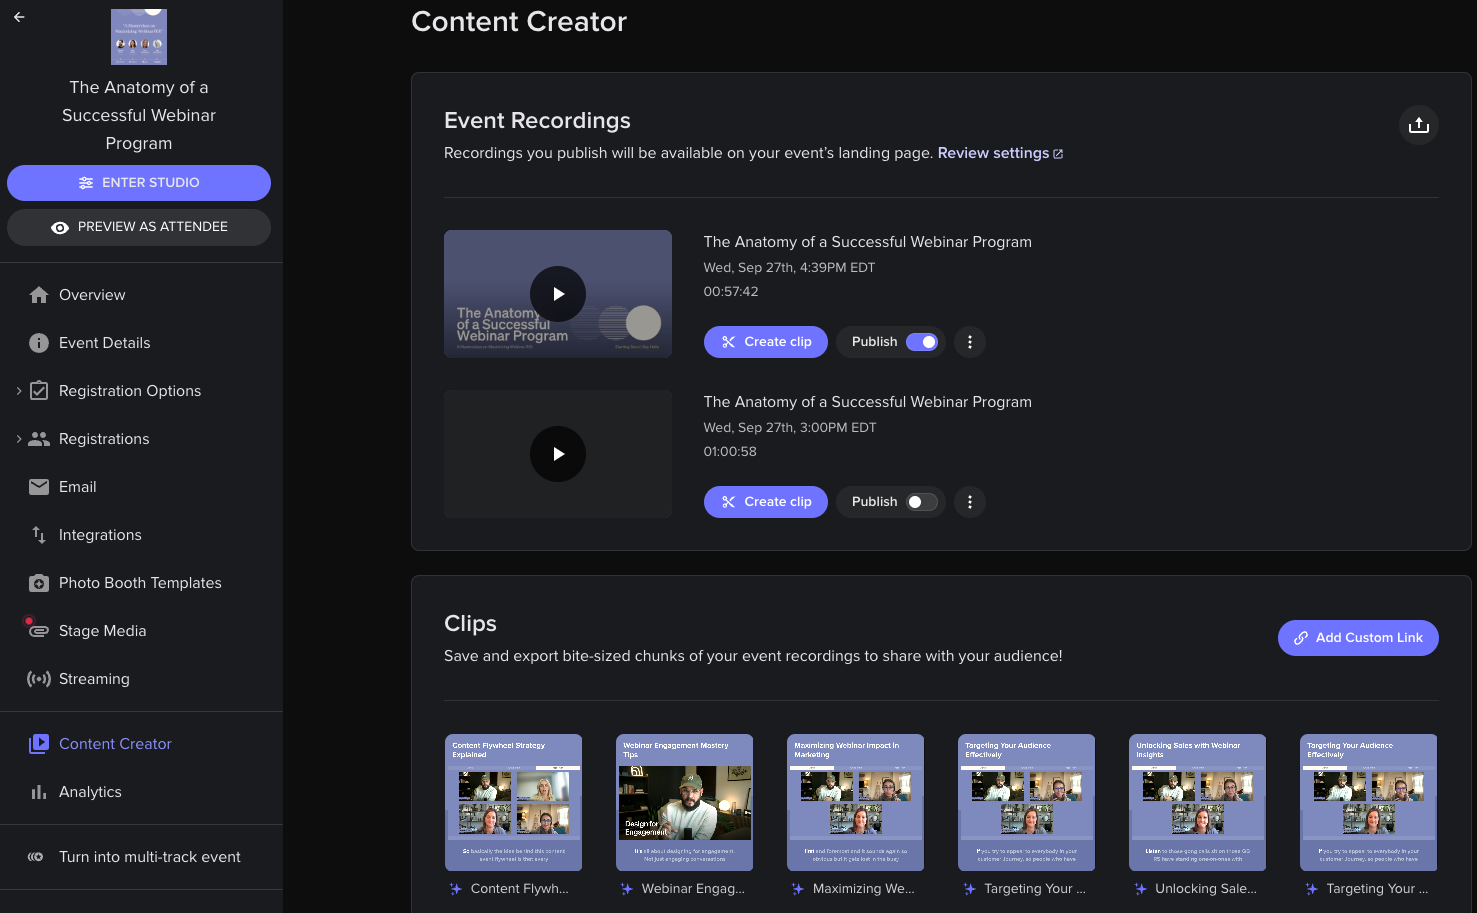
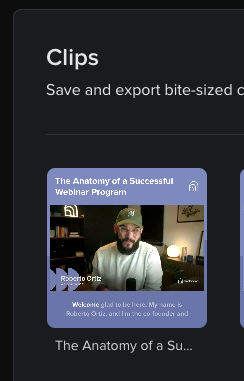
Here you will see your recording(s) at the top.
Notice how in this example there are two recordings. That is because the original recording was downloaded, trimmed, and then uploaded to be published for the on-demand page. Initially, there will only be ONE recording (the original) here after it is done processing.
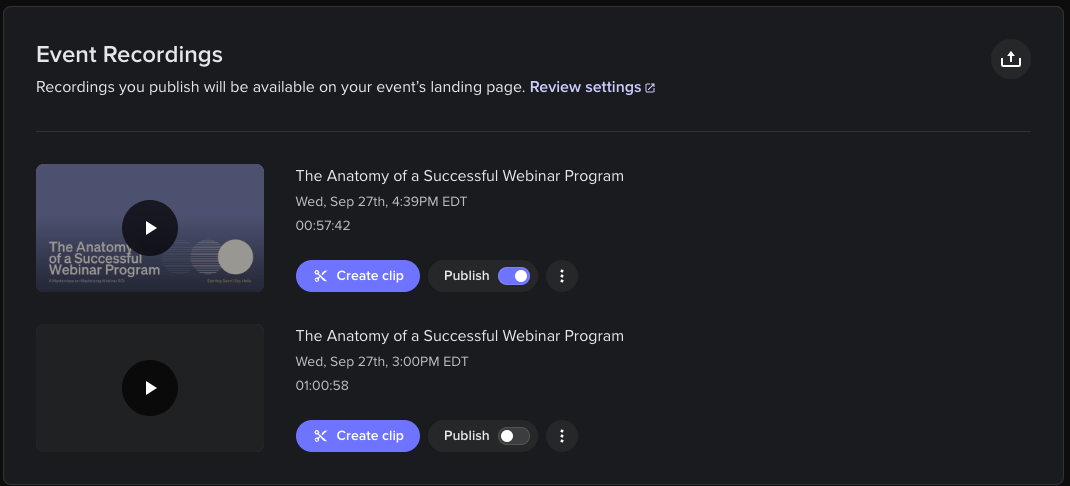
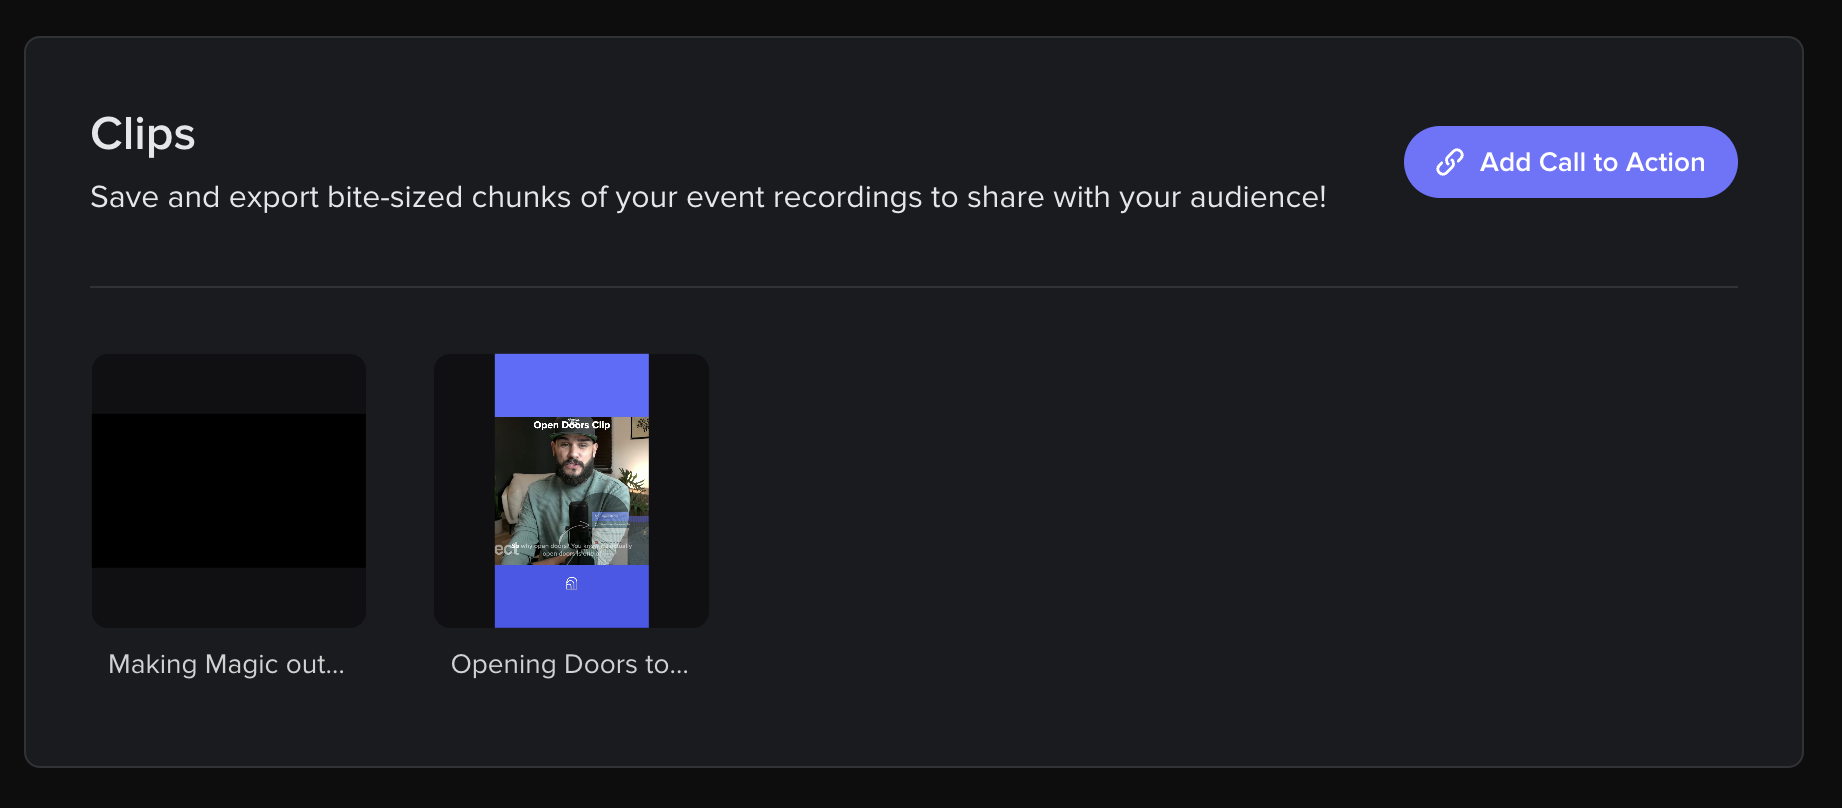
Below is where you’ll find the automatically generated webinar clips, along with any manually generated clips.
Edit Automatically Generated Webinar Content
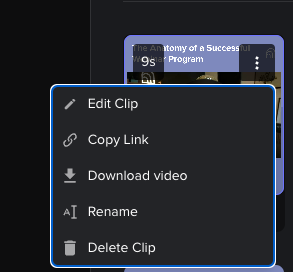
To edit content that was automatically generated from your webinar with content creator, simply click on the clip you want to edit. The following window/view will popup.

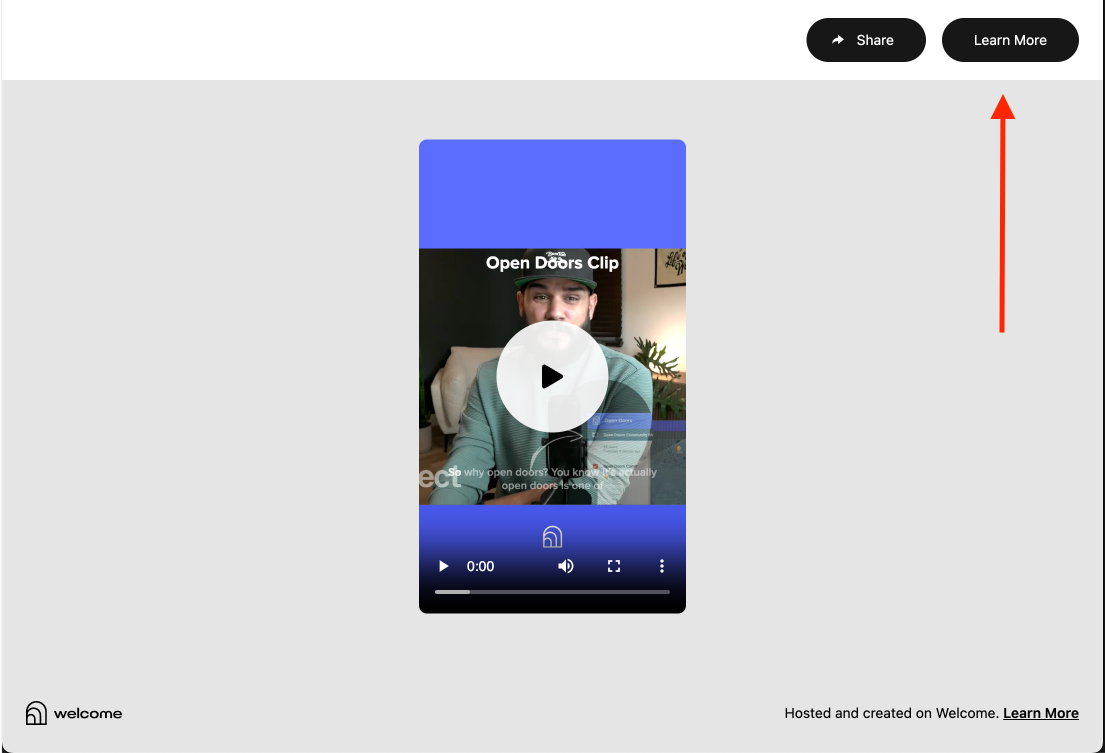
You can preview the clip, view the automatically generated description and name, and share the clip from here. To edit the webinar clip, click the edit button on the top right.
You'll now be dropped into an editing wizard/flow.
Editing the Webinar Clip Transcript
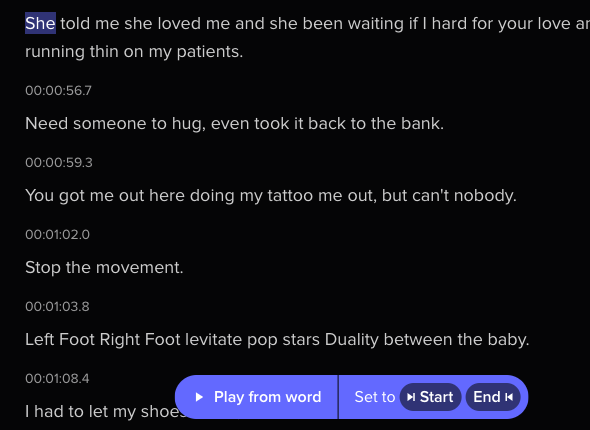
In this edit view, you can search and change the transcript of the webinar clip. While most transcriptions do not need to be edited, occasionally there will be an error in the transcription - such as someone's name, or a company's name.

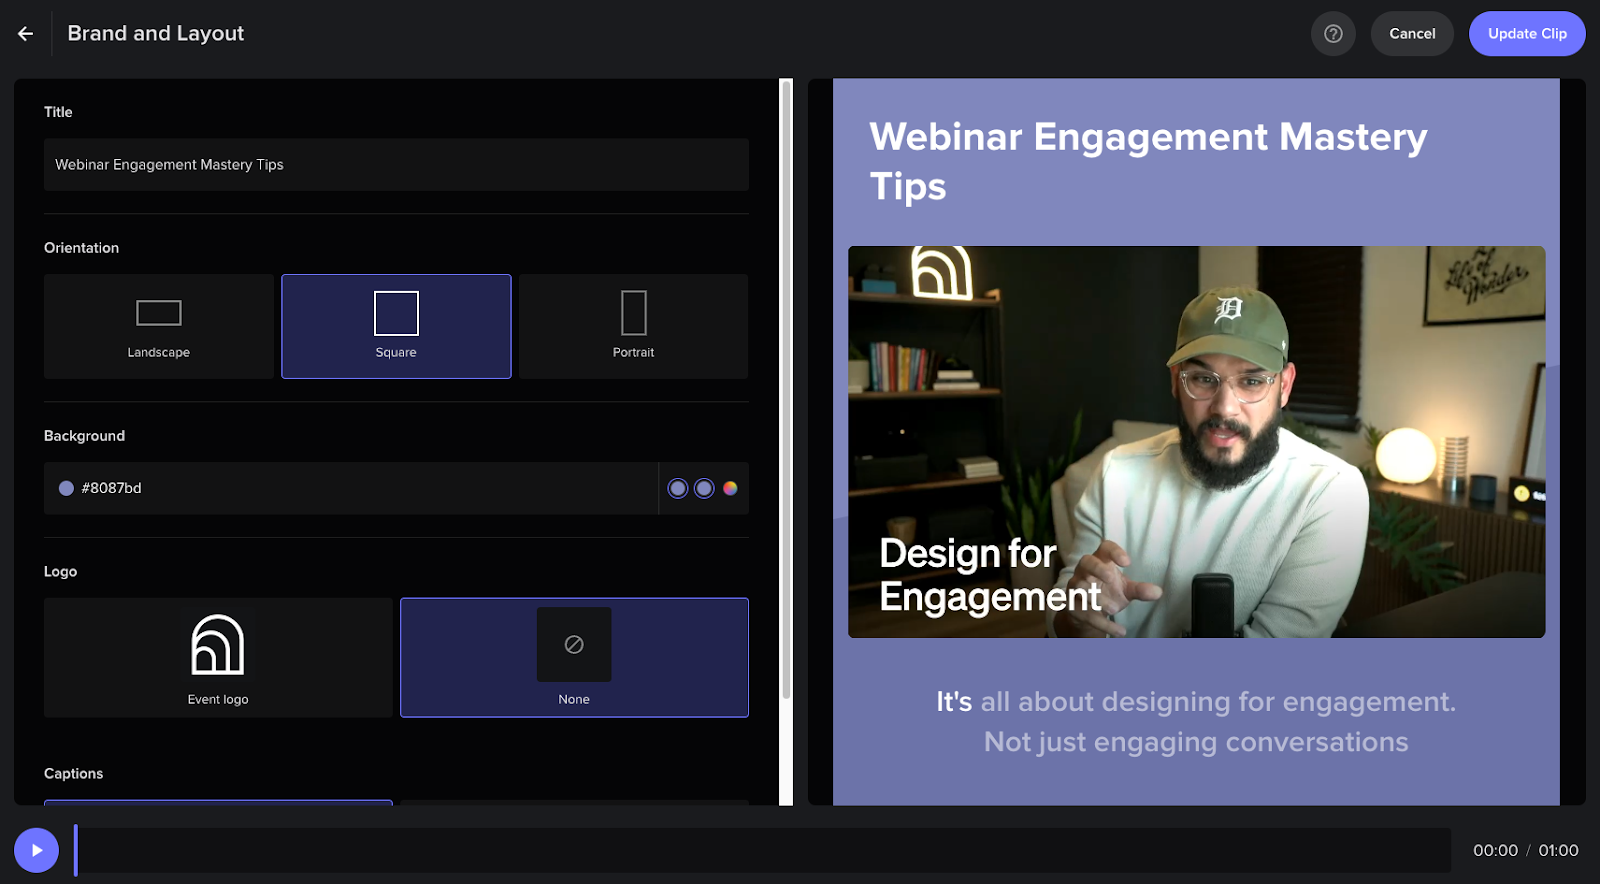
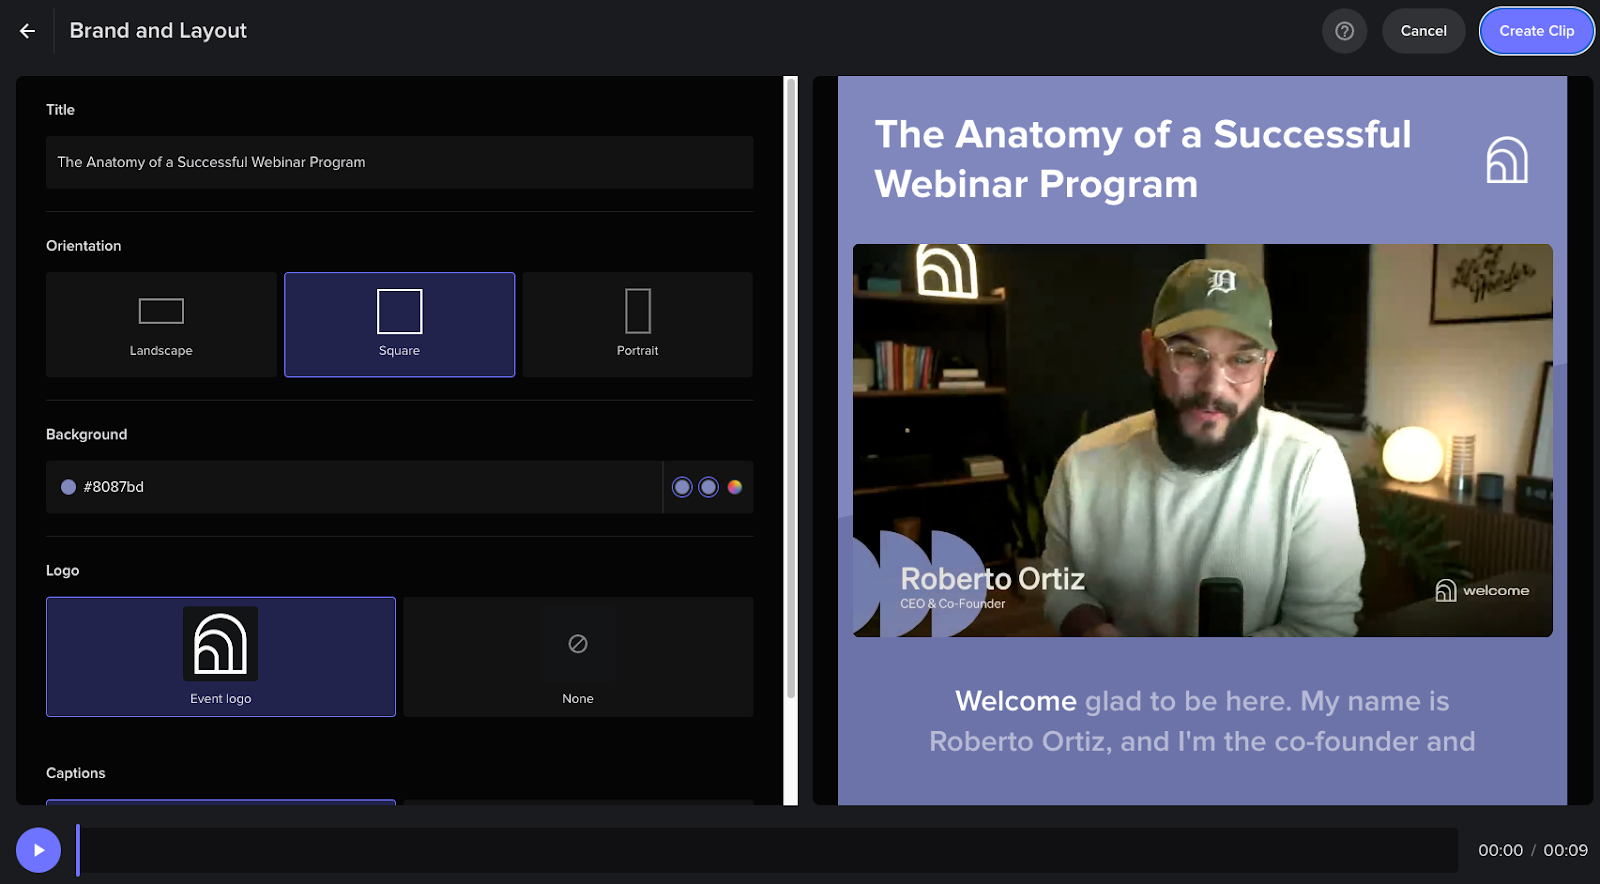
After you've confirmed the transcription of the webinar clip is accurate, click "Continue". You'll now be brought to a page to change branding and titles.
Edit colors, format, branding, and captions of webinar clips
In this view, you can change things such as the title, background color, orientation, logo, and captions of the clip. The default background colors will be the primary and secondary color you previously set for your webinar.
Note: Many social platforms automatically add captions to videos. Be sure to check and make sure captions are DISABLED on the social media platform you are using otherwise viewers will see double captions.
Create and Edit Manually Generated Webinar Content
Navigate to Content Creator from the Event Dashboard.
Click "create clip" beside the recording you want to create the clip from. You will be prompted with the following window.
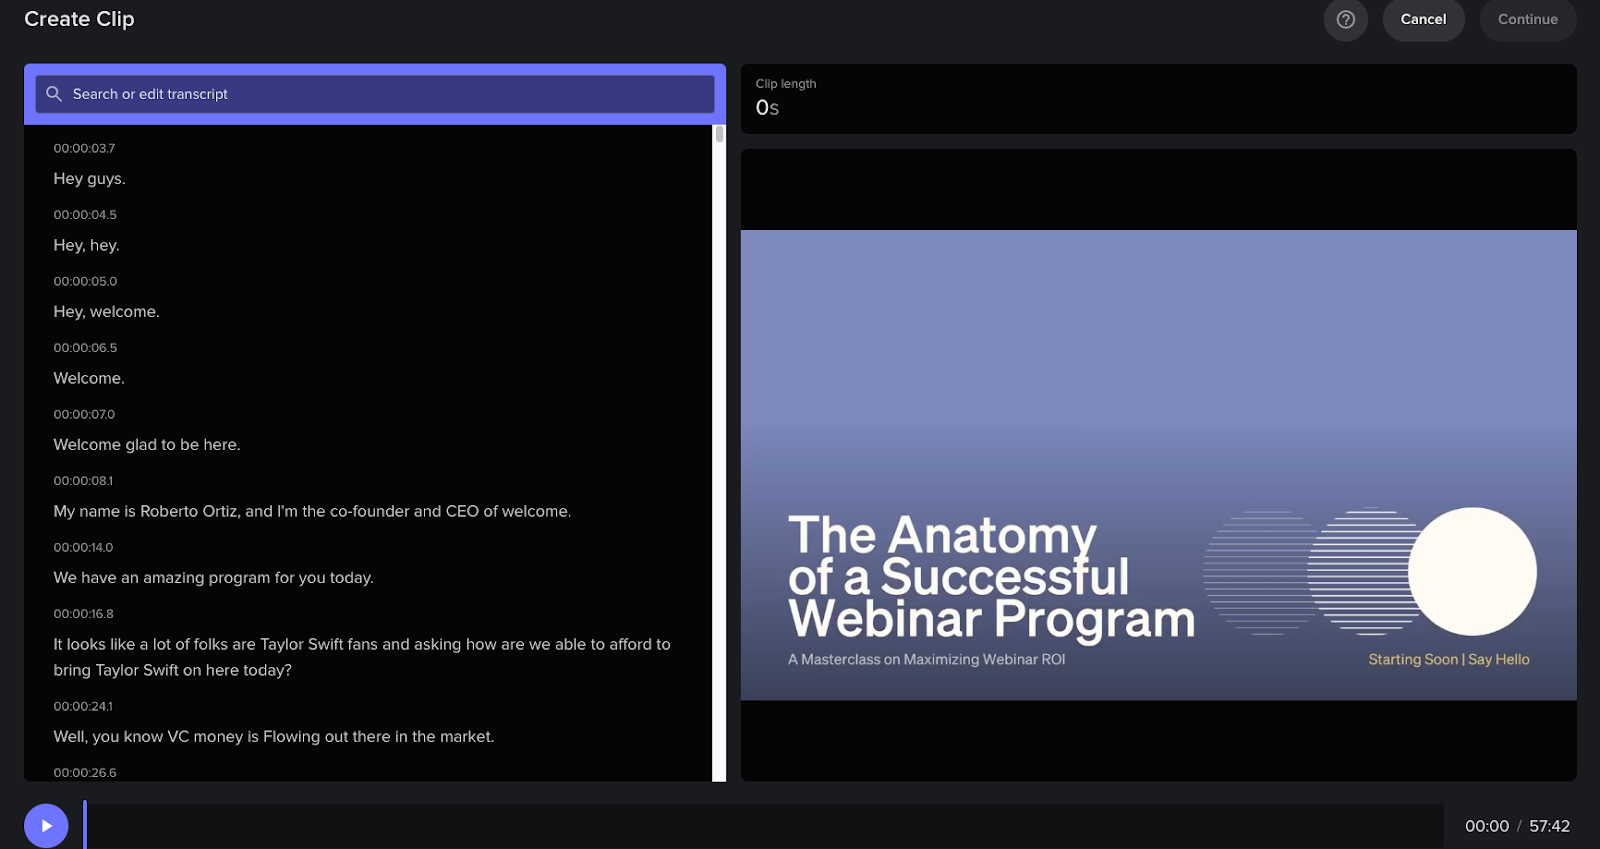
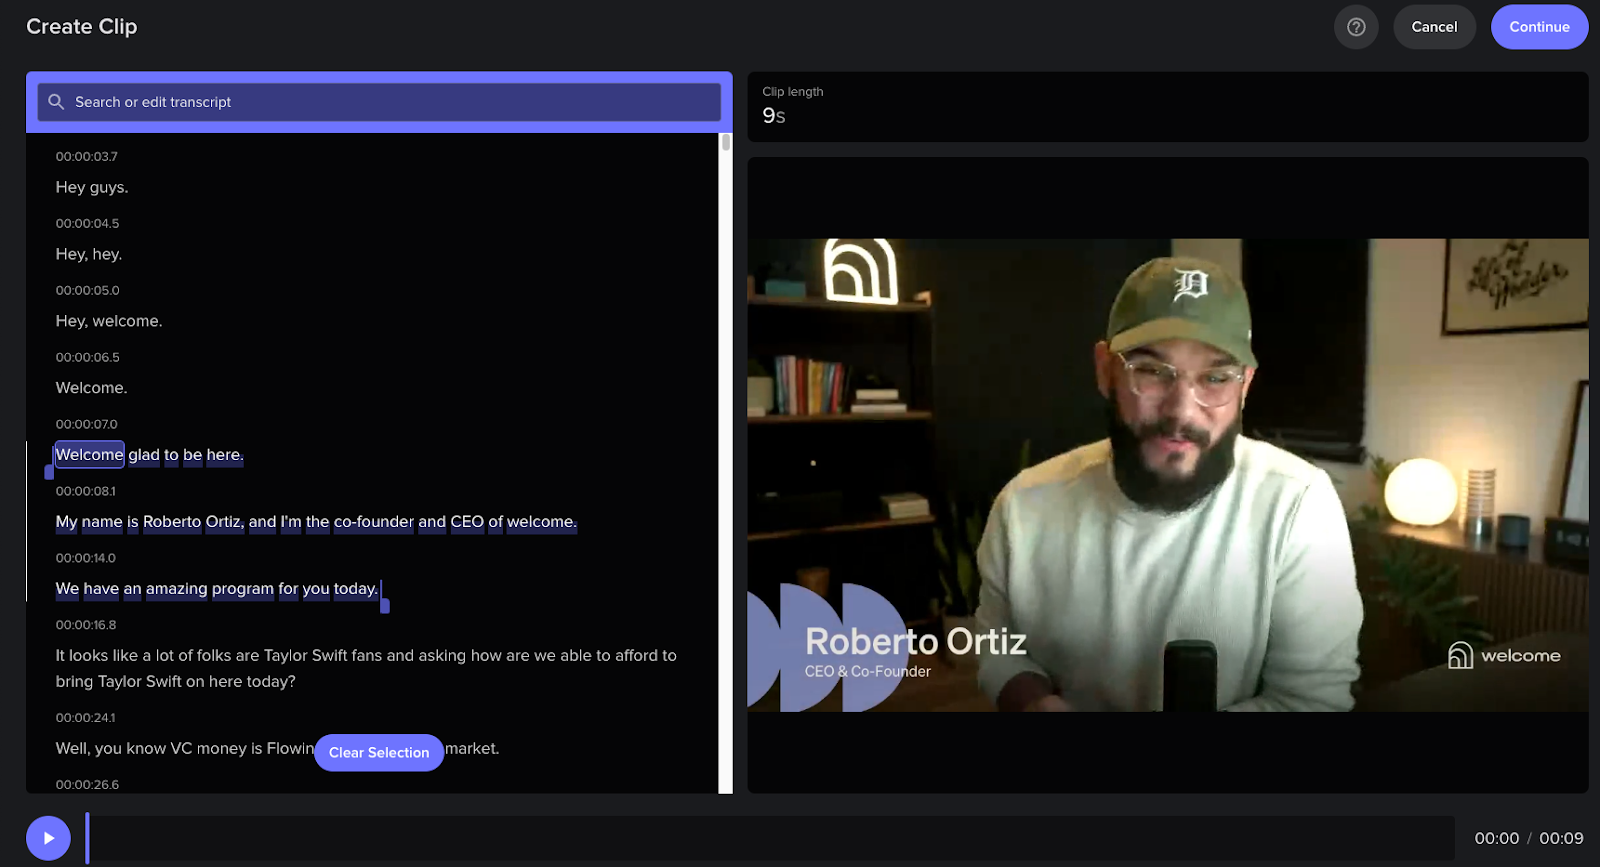
Search the transcript for the clip you want. Then highlight/grab the desired webinar clip in the transcript.

Once you have your clip, click "continue".
You'll now be brought to a screen where you can edit the title, orientation, background, logo, and captions. After you're done customizing your clip, click "create clip" in the top right corner.
Your new webinar clip will now show up in the "Clips" section of Content Creator.
Downloading and Distributing Your Clips
For each of your clips, you have a few options for distributing it:
1. Copying and sharing a link to the webinar clip
2. Copying the embed code to embed the webinar clip onto your website or blog post
3. Downloading the webinar clip as an MP4 to distribute the video file or post on social media
Adding a Custom Link (CTA) to Your Clips
If you decide to distribute your clip via a link to the clips landing page, you will also have the option to add a "Custom Link" (CTA) that viewers can click, driving traffic straight to you. You can configure this within the Content Creator page in your dashboard:
Then, once you set the custom link, viewers who visit your clip will see the CTA on the webinar clips on-demand page.
Trending Posts
Welcome's Next Evolution: Webinars and Content at ScaleABM and Demand Generation: A match made in heaven?The Ultimate Guide on How to Integrate Organic and Paid Marketing Strategies
Stand Out By Staying In: 5 Ways To Use Brand Marketing Right Now
8 Creative Ways to Repurpose Your Webinar Content
Growth Marketing vs Demand Generation
How to Drive Qualified Pipeline and Enable Sales After Your Webinar Wraps
Loved and Trusted


