Breakout Room Guide
Breakouts allow for magic moments to occur in a much more intimate environment. Breakouts are smaller personalized sessions with up to 16 attendees to engage and discuss with each other. In an event, you can have up to 50 breakout rooms per stage. Our breakout rooms allow events to become more engaging and, for lack of a better word, eventful.
Let's break down how to set up Breakouts to create these magic moments.
Table of Contents
- Enabling Breakouts
- Creating Breakout Rooms
- Navigating and Editing Breakout Rooms
- Top Panel - Administrative Panel
- Center Panel - Breakout Rooms View
- Left Panel - Stage and Green Room
- Right Panel - People Panel
Enabling Breakouts
- Go to Event Details in your Event Dashboard.
- Scroll to Event Customization, and at the bottom, check the box for Breakouts and click Save.
- You can change the display name for breakouts at the top of the Event Customization.
Creating Breakout Rooms

- At the top bar of the Control Room, click on Breakouts.
- To the right, click on New Session.
- Add Session Name.
- Session Name will only be visible to producers and staff.
- Breakout Assignment - You have 3 choices "Auto-Assign", "Manual Assign", and "CSV".
- Auto-Assign - will automatically generate rooms and assign them based on your attendees per room slider. You are able to choose if you want to include participants that are online at the time or to include offline participants.
- Speakers DO NOT get auto-assigned.
- Manual Assign - will create enough rooms for the number of total attendees. The producer will need to manually move attendees into the rooms.
- CSV - Will create rooms and assign attendees based on the CSV. Please make sure to use our CSV format when creating rooms via CSV.
- Adjust Duration based on your needs.
- Add a Topic, this is optional but having one can help drive an initial discussion.
- When everything is filled out properly click "Next" to generate the rooms.
Navigating and Editing Breakout Rooms
Top Panel - Administrative Panel

- Send Announcement
- Sending an announcement will allow global communication to all attendees. This will be in the form of a pop-up at the top of the user's screen.
- Add Rooms
- Clicking this button will add an empty room that you can manually assign attendees to.
- Edit
- Session Name - allows changing the name of the session.
- Upload new CSV - Allows uploading a CSV of the room arrangements after the fact. This is not available after you open the doors for Breakouts.
- Duration - Adjust room duration. This is not available after you open the doors for Breakouts, but you are able to add time to the bottom left of the screen.
- Topic - Edit the topic or instructions.
- Delete - Remove the Breakout Session. This is not available after you open the doors for Breakouts.
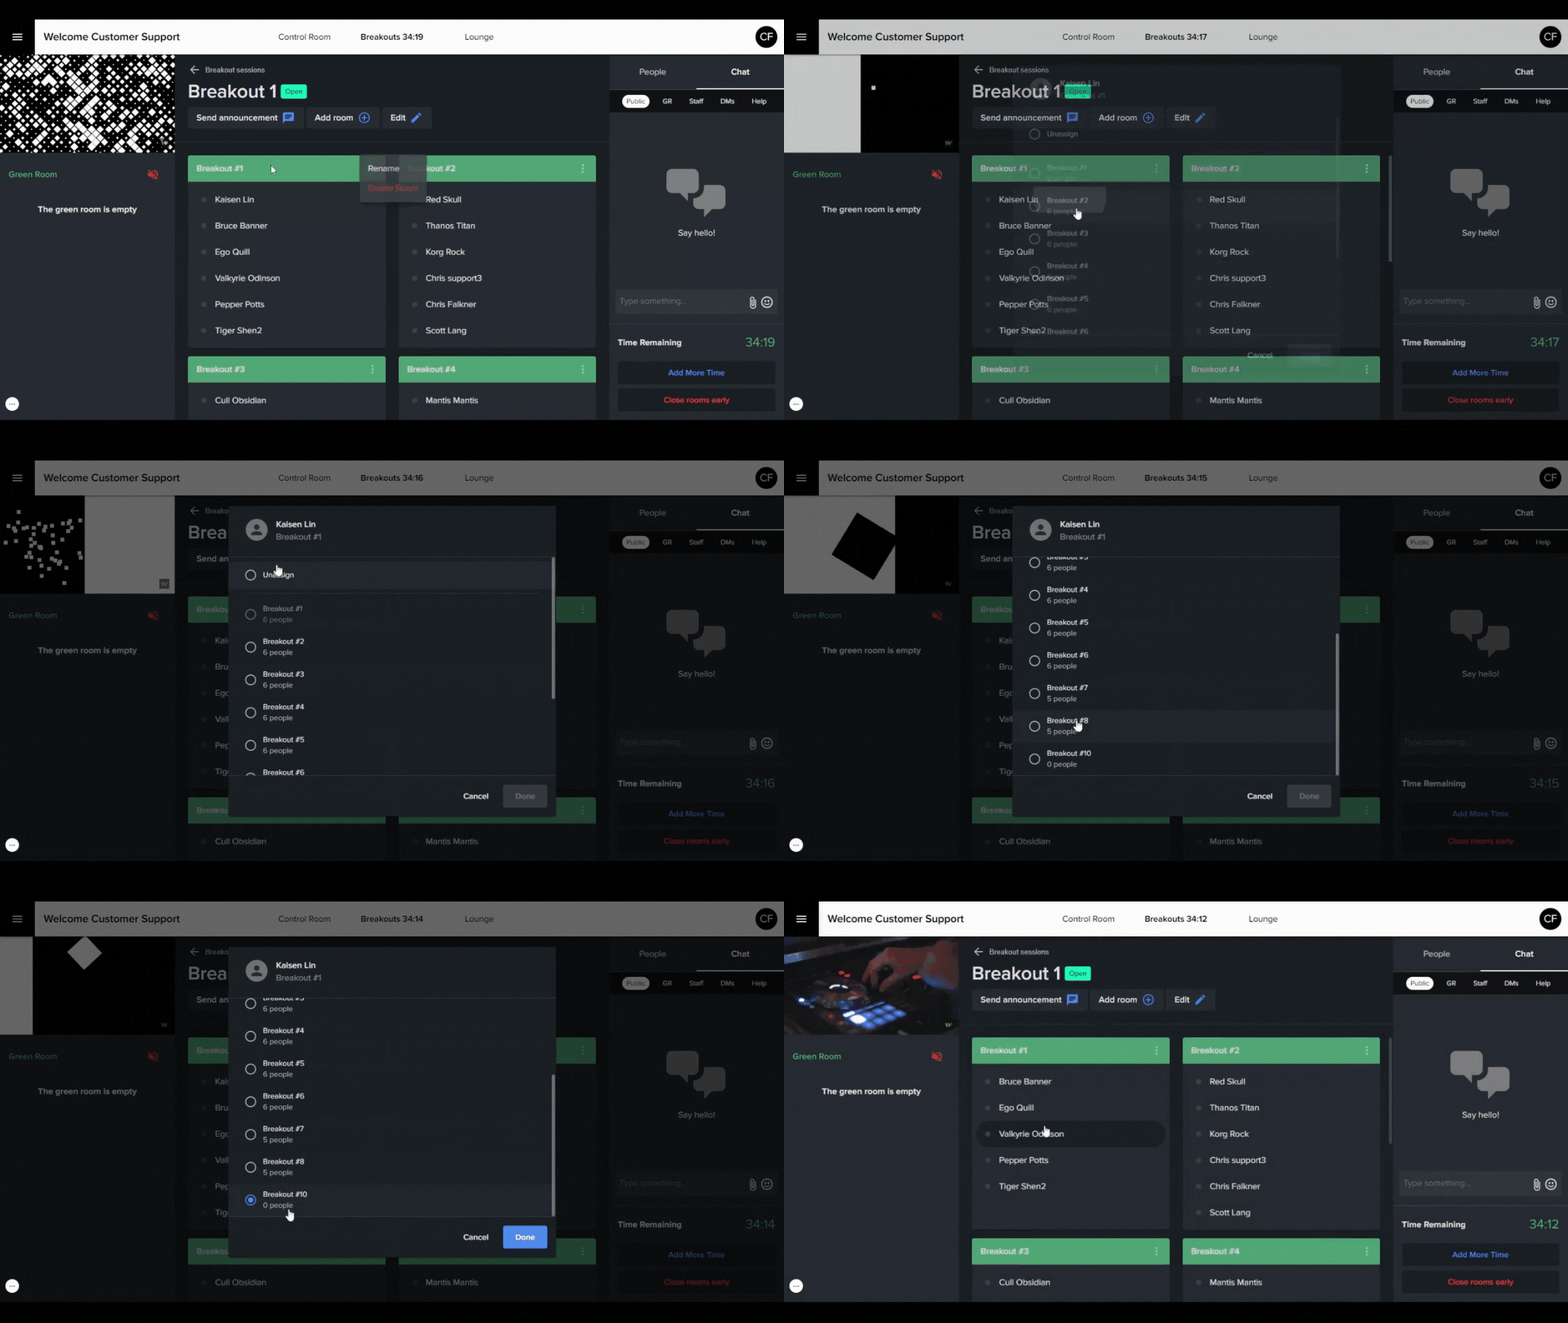
Center Panel - Breakout Rooms View

- The dot to the left of the name will light up green to indicate if the attendee is online or not.
- You can click on an attendee and move them out of a room or into another room.

- Clicking on the 3 stacked dots at the top right of a breakout will allow you to rename the room or delete the room.
Left Panel - Stage and Green Room
- This panel will allow you to watch the stage and activity inside the Green Room.
- You will be able to adjust your audio for the stage and Green Room with the sliders.
Right Panel - People Panel
- People Tab - Attendance
- All Tab - This shows everyone registered for the event.
- Online Tab - This shows everyone online actively during the event.
- Chat Tab - Communication
- Public - Chat Attendees can use to interact with everyone.
- GR - Chat only Green Room users can see. This includes Producers and Speakers.
- Staff - Chat only for Producers.
- DMs - Private Direct Messages to specific individuals.
- Help - This chat is used for technical issues for all users.
- Open Rooms - Allows Attendees to enter the rooms and this button is replaced with the buttons below:
- Add More Time
- Allows you to add 1, 5, 10, and 15 minutes to the timer.
- You can add a custom notification when extending the time.
- Close Rooms Early
- Allows you to close rooms early by 1, 2, 5, and 10 minutes.
- You can add a custom notification when closing out rooms early.
Still need help?
If none of the solutions work above and you're still experiencing issues, feel free to contact support@experiencewelcome.com or click Help at the bottom right corner of the screen.


