
Join 5000+ marketers that receive The Drip newsletter covering the most relevant topics in B2B marketing.
Custom Registration Pages for your Webinar or Virtual Event
Welcome's power Custom Registration Page feature allows you to add your brand's unique look and feel to your event's landing page.
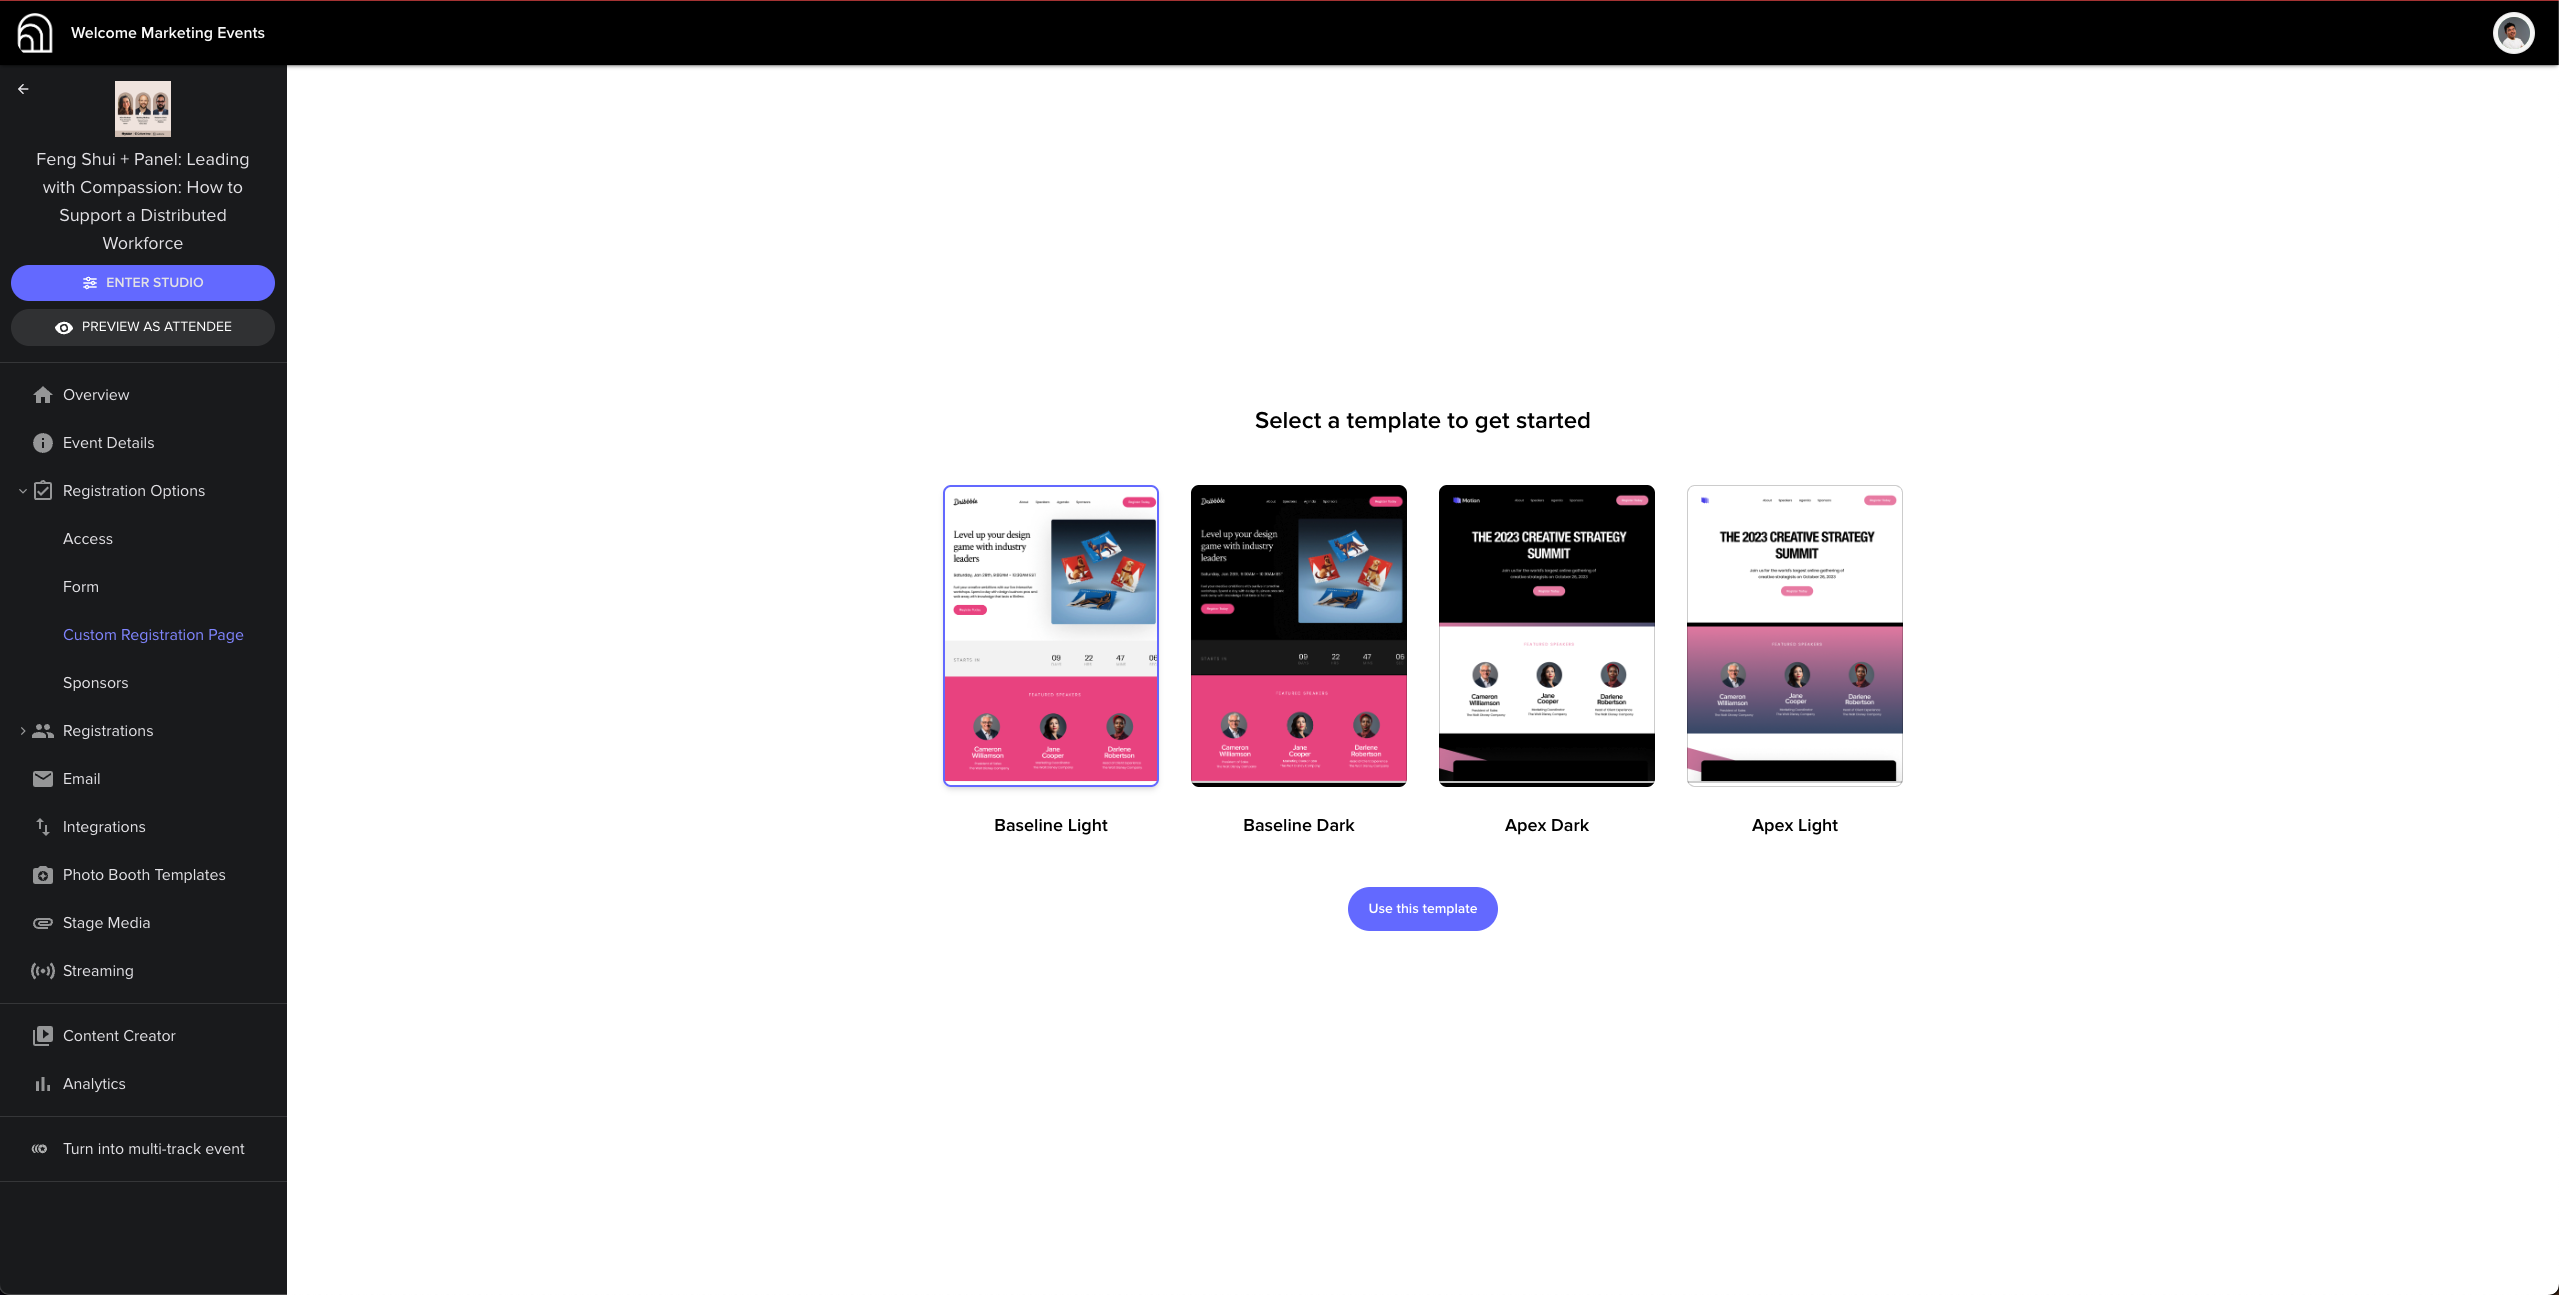
To create a custom registration page for your event, click the "Registration Options > Custom Registration Page" in the left-hand panel of your event's dashboard. You'll be greeted with this view, where you can pick one of our four templates to start from:
Note: custom registration pages are not available for multi-track events.
And voila! Just like that, your custom registration page is ready to go. The "Preview" button in the top right allows you to see exactly how it will look to your registrants, and the "Publish" button is for whenever you want to go live.

But that's not all. We also give you powerful ways to customize the custom registration page exactly to your liking. Let's get into how that works.
Customizing Page Content
To customize the content on your custom registration page, it's important to understand that the page is organized into blocks. Each block is a section of the site; for example, by default there's an "Event Hero" block at the top of the page, and then maybe the "Speaker" block goes beneath that.
In your editor, you can select blocks and delete or move them, drag them around the page to re-order blocks, or drag blocks from the right-hand panel to add them to the page.
Within each block there are two types of dynamic content: synced content, outlined in green, which is synced with other event data – for example, the "speakers" block will be automatically synced with the speakers registered for your event. There's also editable content, outlined in blue, which is completely customizable – you can write whatever you want in it.
Customizing Page Styles
Some high-level page styles – for example the heading fonts, body fonts, and brand color – can be updated in the "Page Styling" section of the right-hand customization panel.
To update the styles of your page on a block-by-block basis, simply click on a block, then choose from the styling options which appear on the right.
For example, here's that exact same page from the previous screenshot, but with a white background for the event hero instead of a black one.

And that about sums it up! All in all, you should find our custom registration pages to be highly customizable and extremely easy-to-use for your next event.
Trending Posts
Welcome's Next Evolution: Webinars and Content at ScaleABM and Demand Generation: A match made in heaven?The Ultimate Guide on How to Integrate Organic and Paid Marketing Strategies
Stand Out By Staying In: 5 Ways To Use Brand Marketing Right Now
8 Creative Ways to Repurpose Your Webinar Content
Growth Marketing vs Demand Generation
How to Drive Qualified Pipeline and Enable Sales After Your Webinar Wraps
Loved and Trusted


